

Here is how to make a…
3V battery holder from a match box and some office supplies
Maybe you have been here: You need batteries in your maker project but you don’t have a battery holder. With a match box and some items from your office drawer you can build this battery holder for two AA batteries and use it over and over.


Make a battery holder step by step
Materials
For a 3V battery holder:
- 1 match box
- 2 AA-batteries
- 1 metal paper clip
- 2 metal paper fasteners
- 1 piece of cardboard from a cereal box
- 1 template (download and print this one)
- Optionally some electrical tape
Tools
- X-acto knife
- Cutting ruler
- Cutting mat
Readymades
Print sheet
Steam skills and science
- Basic electronic circuits
- Find alternative solutions to problems

Line up materials and tools so you know, you have everything

Empty the match box
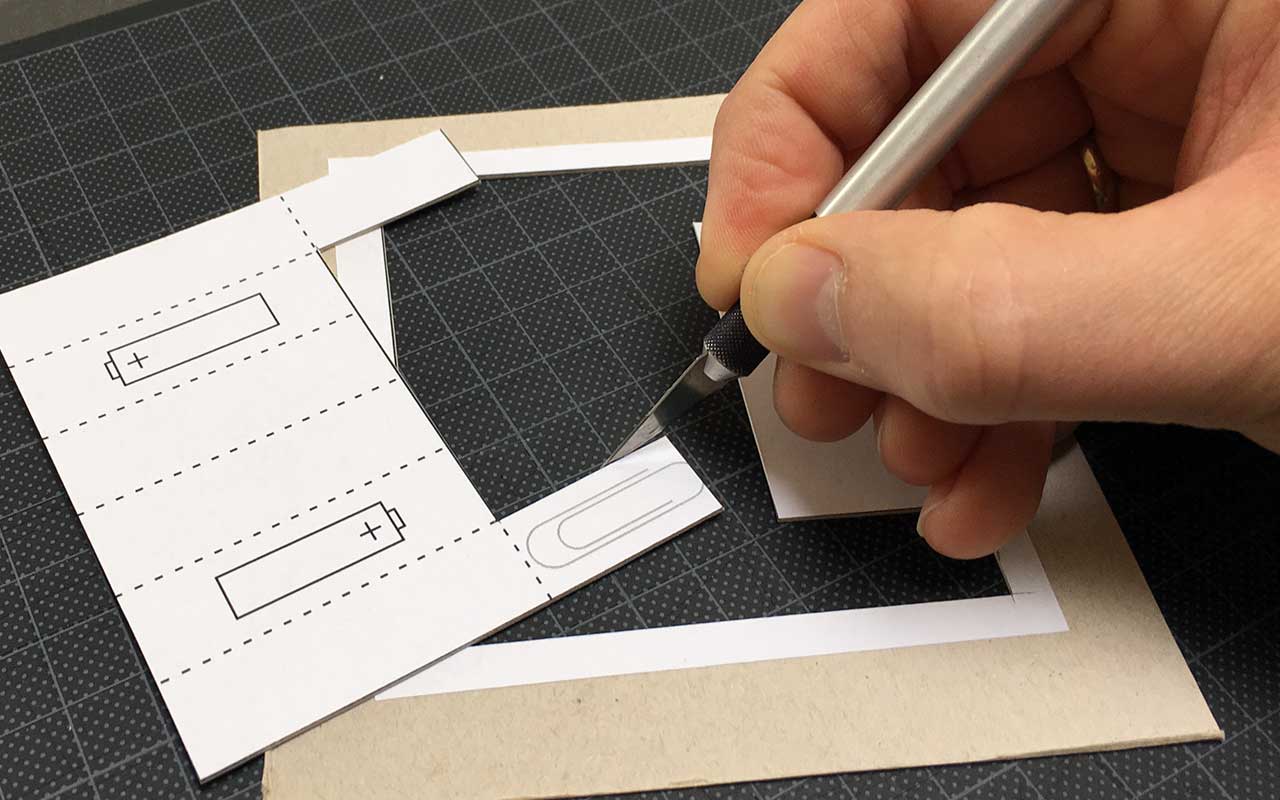
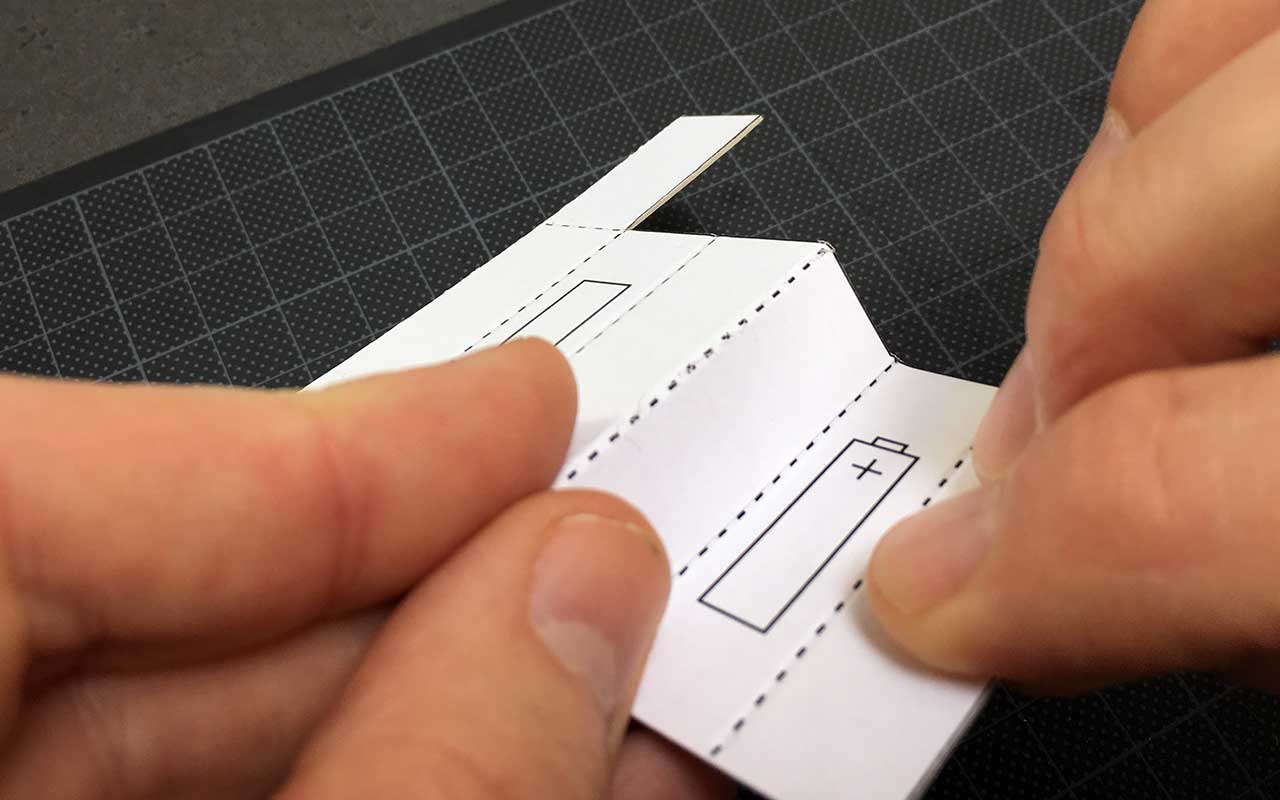
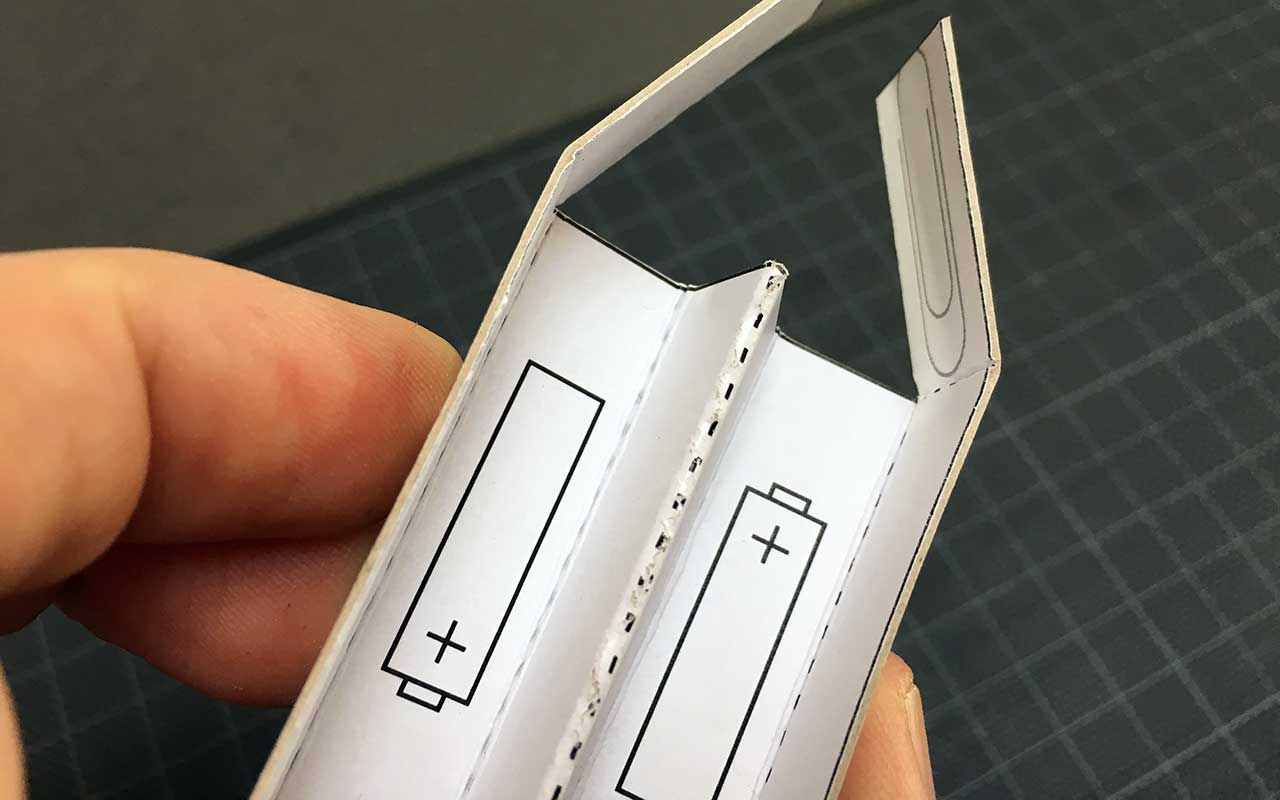
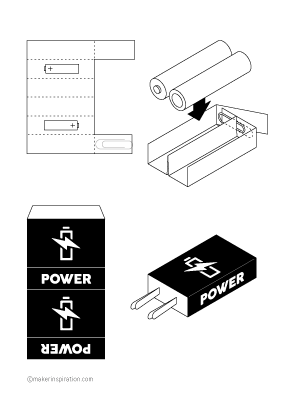
Cut a piece of cardboard like the template and fold along the dotted lines
The kind of cardboard that cereal boxes are made from is suitable. TIP: If you glue the template to the cardboard, it is easy to see where to cut and fold. I addition you will have nice battery symbols in your battery holder to help orient the batteries correctly.

Put the paper clip on the inside cardboard flap at the end
The clip will create the connection between the two batteries.

Insert the folded cardboard into the match box

Insert the paper fasteners in the box
In the opposite end from the paper clip cut two holes and push the paper fasteners through.
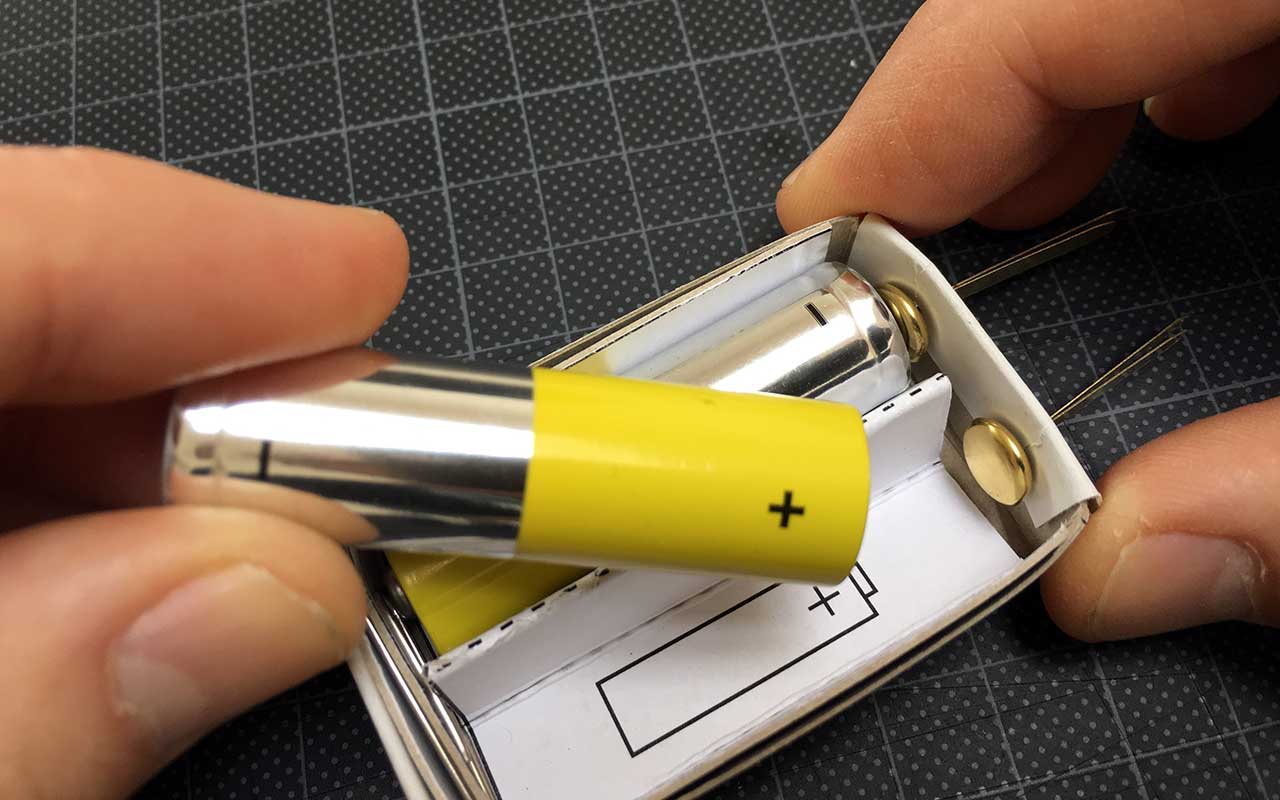
Put the batteries in the box
Make sure they are firmly fit and have a good connection to both the paper clip and the fasteners. You can use small pieces of cardboard to make the fit extra firm.
If you need the battery box for a moving project like for instance a wigglebot you may need to secure the batteries with some electrical tape.

Test the batteries
Test that there is power on the terminals with a volt meter or a device that needs 3 Volts.

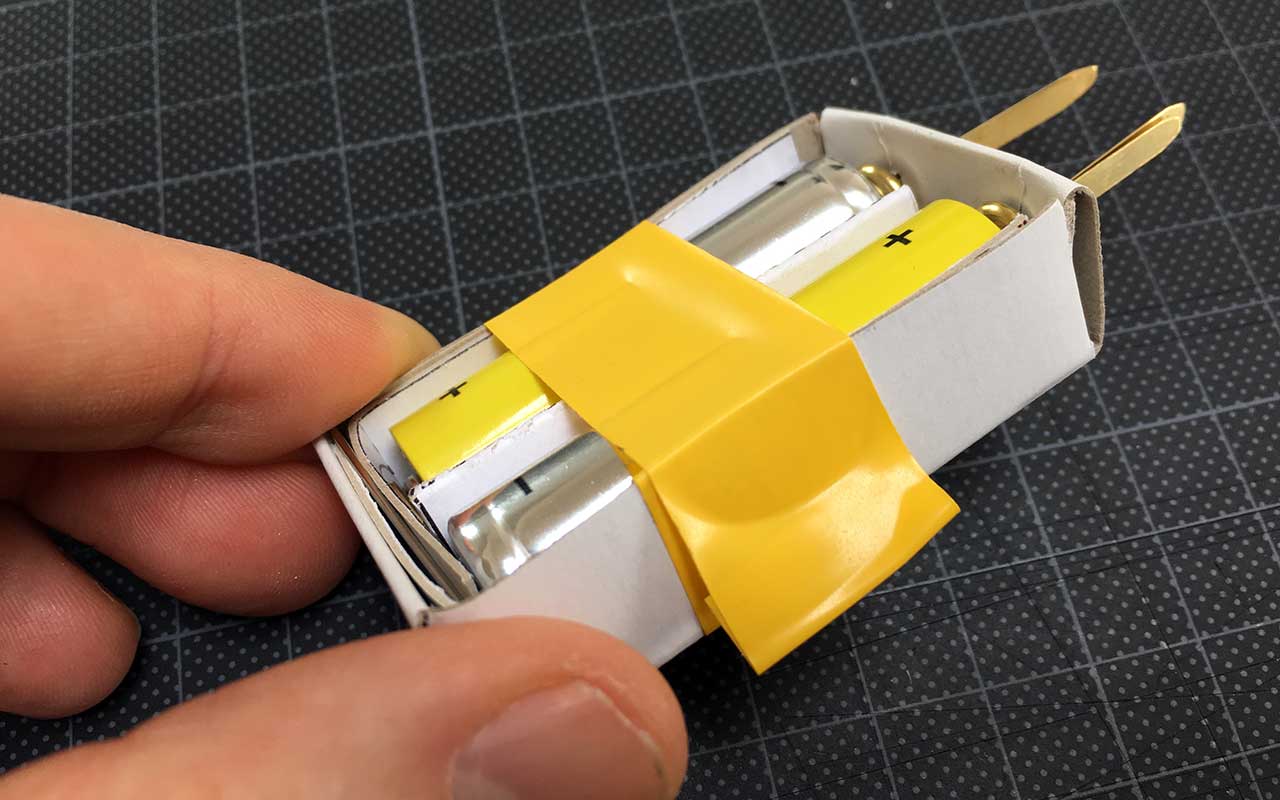
Close the match box
Make marks on the box so you can see which terminal is plus and which is minus.

Decorate the box
Make a nice decoration on the box so everybody can see, that this is now a power supply and no longer a match box.