

Super Scary Halloween LED-o-copters
So what is a LED-o-copter? Is a simple fun toy that you slingshot into the air, and then it swirls down spinning like a helicopter. The LEDs shine their light onto the wings and the result is almost like fireworks.
Now this is fun on any night, but in this case we will spice up the LED-o-copters with halloween decorations to turn them into flying scary ghosts, bats and pumpkins.
If you follow my recipe, you will need some specific materials, but if you cannot source them, feel free to improvise. I will provide some tips along the way.


Make a LED-o-copter step by step
Materials
For one LED-o-copter and slingshot:
- 2 popsicle sticks
- 2 Button type batteries 3 volt (i.e. CR2032)
- 2 LEDs
- 1 strong rubber band
- Some electrical tape
- 1 sheet of paper printed with decorations
- 1 lamination pouch
- Some hot glue (sticks)
Tools
- X-acto knife or similar
- Scissors
- Gluegun
- Laminator machine
- Ruler (optional)
- Tea spoon (optional)
The purpose of laminating is to achieve sturdy wings. If you do not have a laminator machine, use a sturdy plastic material for the wings i.e. like the material you will find in blister packaging.
Readymades

Printing sheet
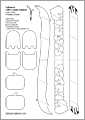
Printing sheet
Printing sheet
STEAM Skills and Science
- Basic electric circuits
- Creative expression
- Detailed building skills

Prepare the decorations and wings
The printing sheets with decorations contain the wings and the decorations on the same sheet. Print a sheet on ordinary printer paper and laminate it. Cut out the wings and the decorations.
TIP: If you choose the creative version of the decoration sheet, you can decorate the elements to your own liking. If you are making the LED-o-copters with children, this is a great activity. Remember to decorate the prints BEFORE you laminate them. Cut them AFTER they are laminated.

Ready to make the LED-o-copter
Line up materials and tools, so you are sure you have everything ready.
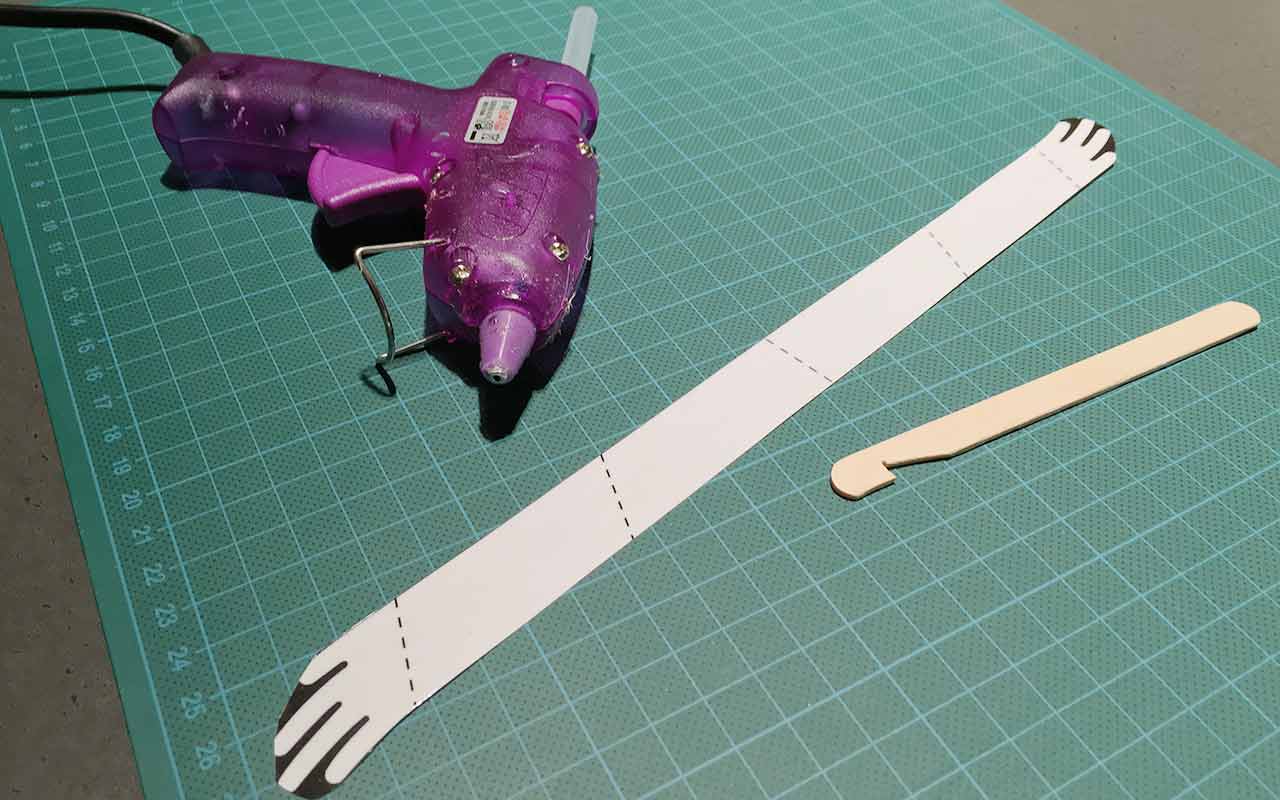
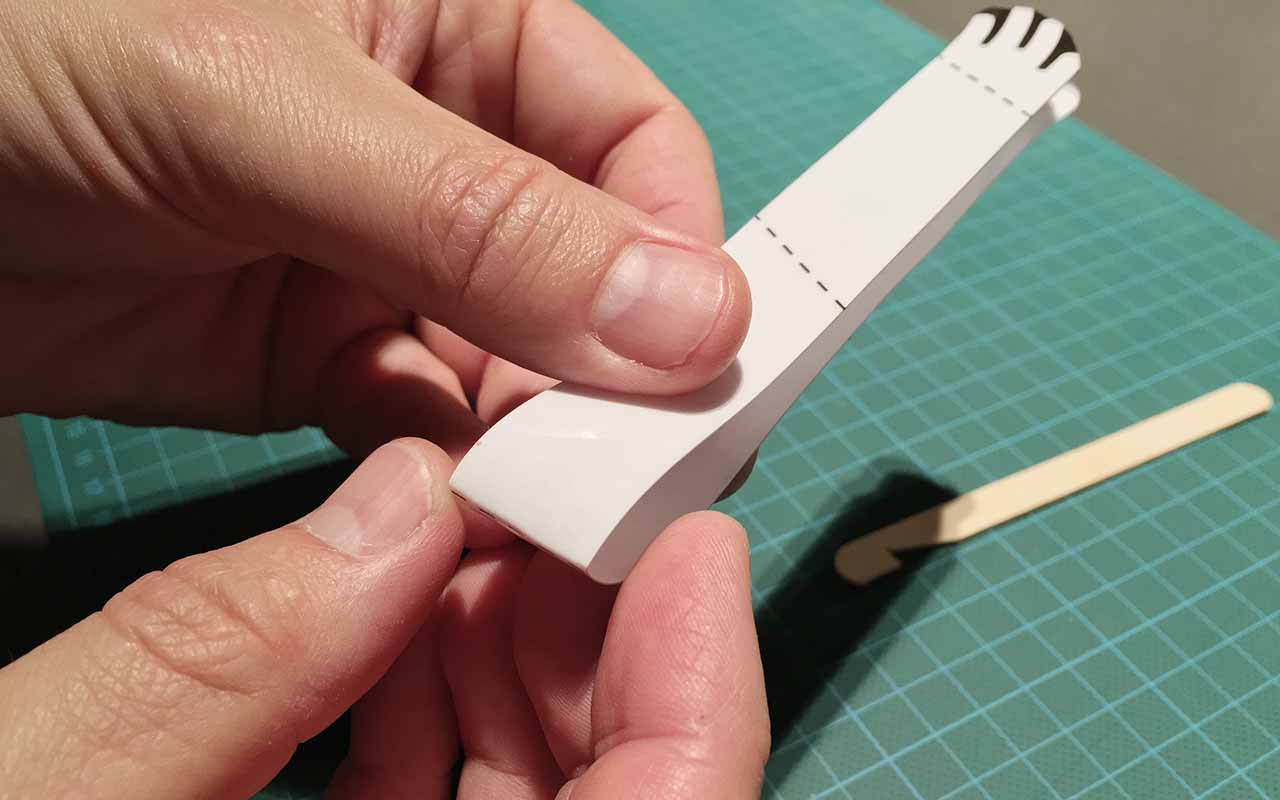
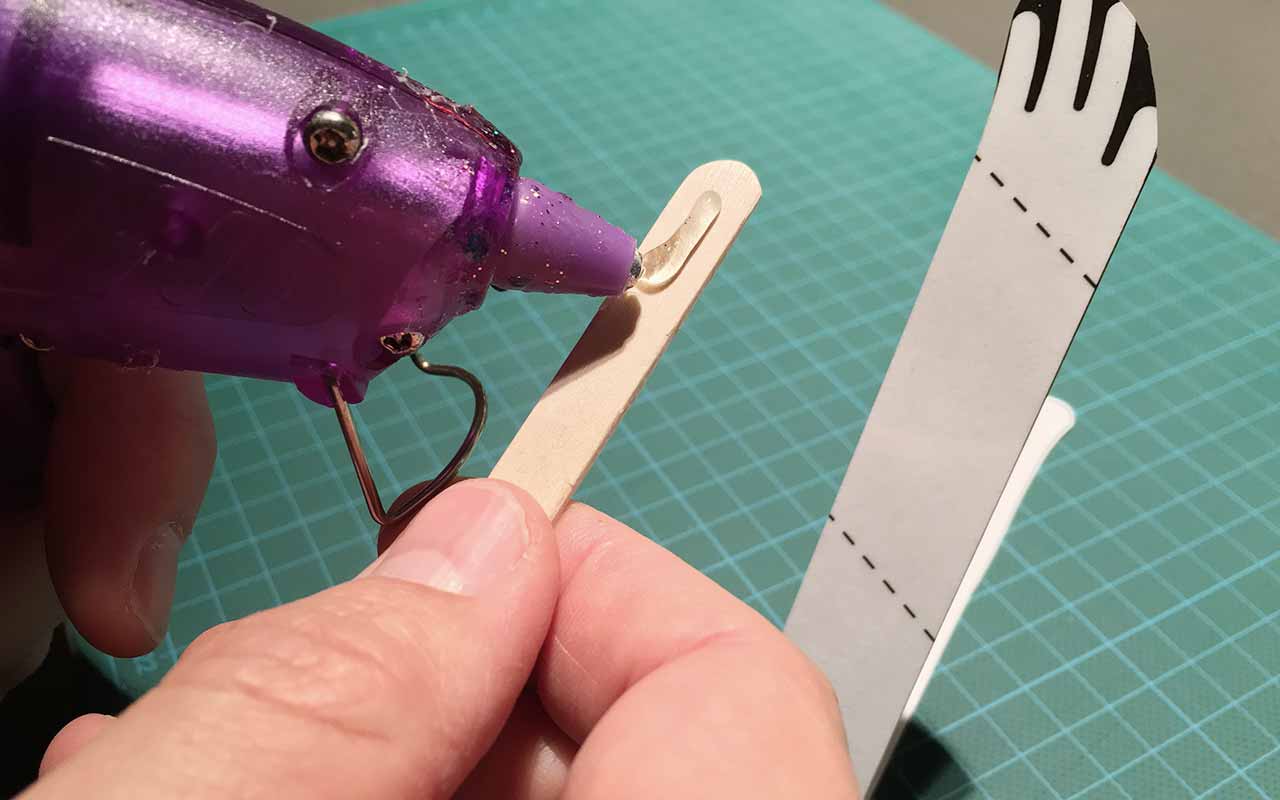
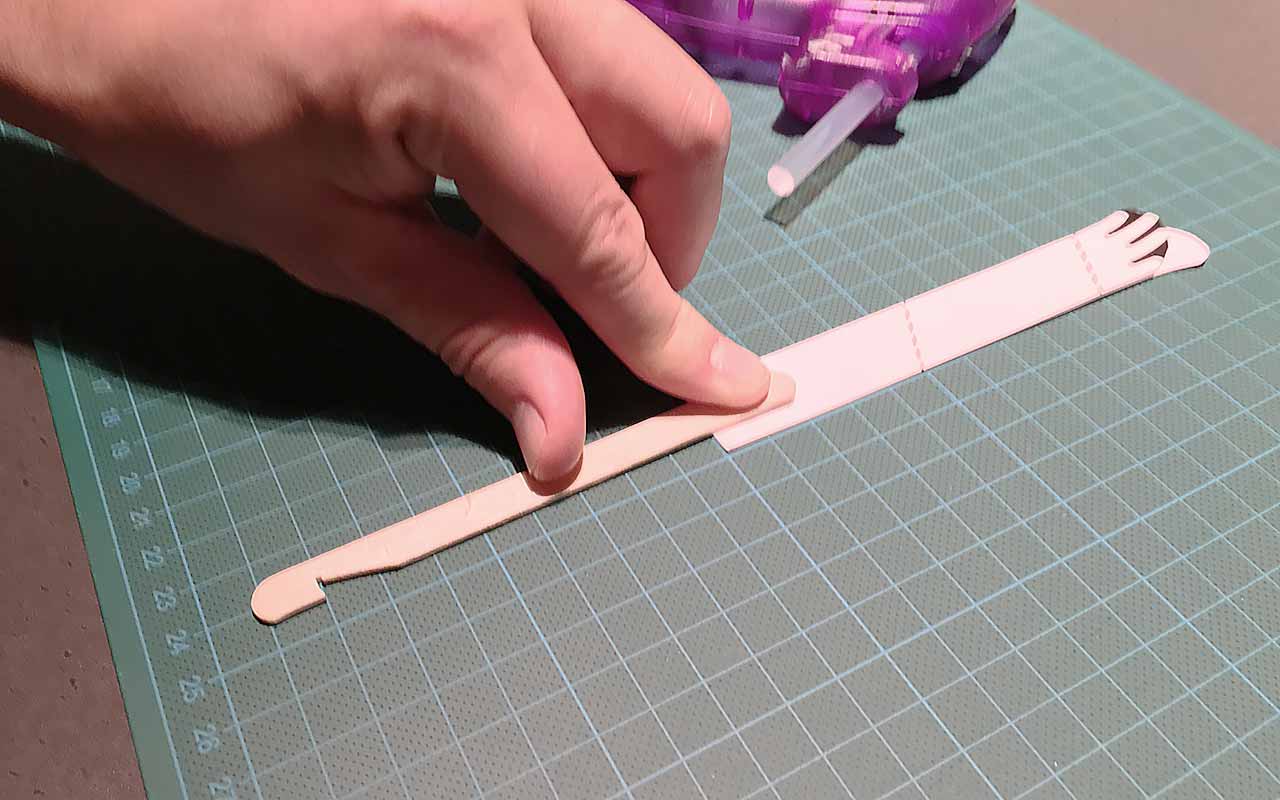
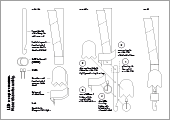
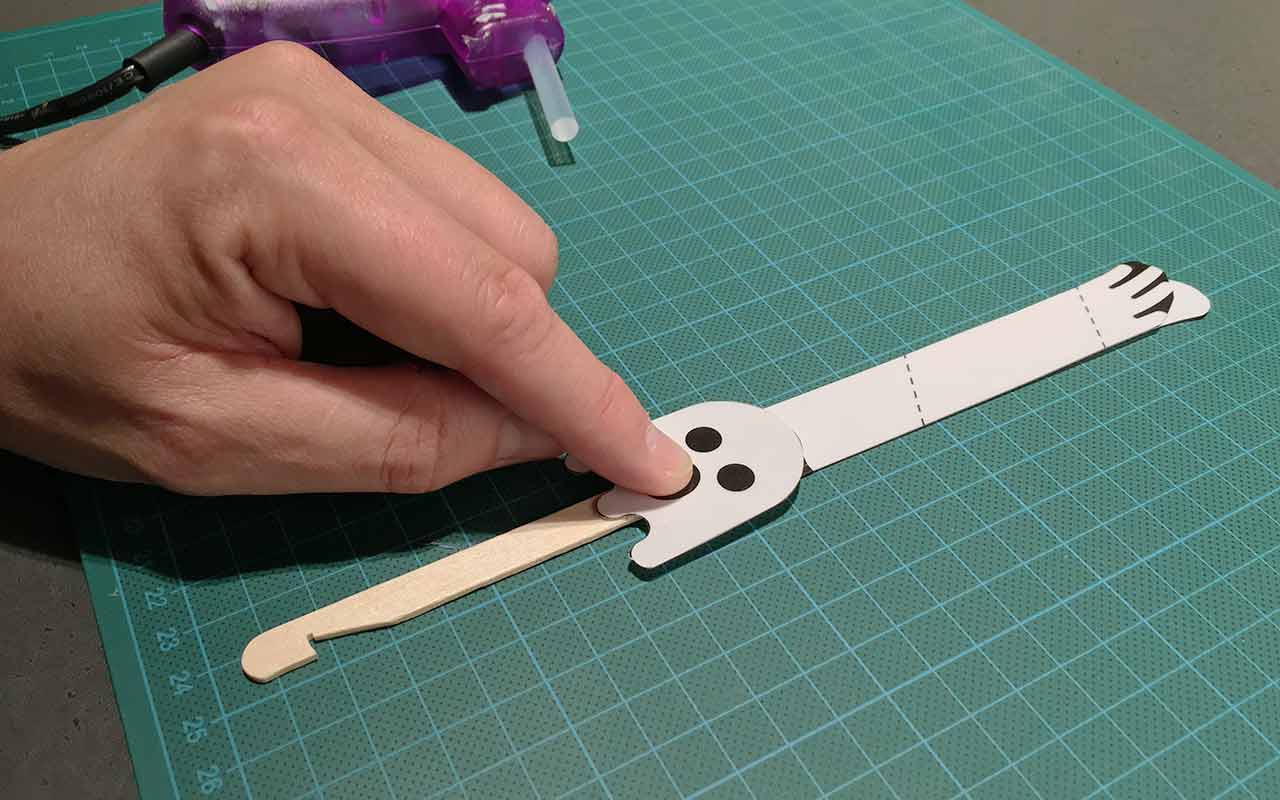
Build the body
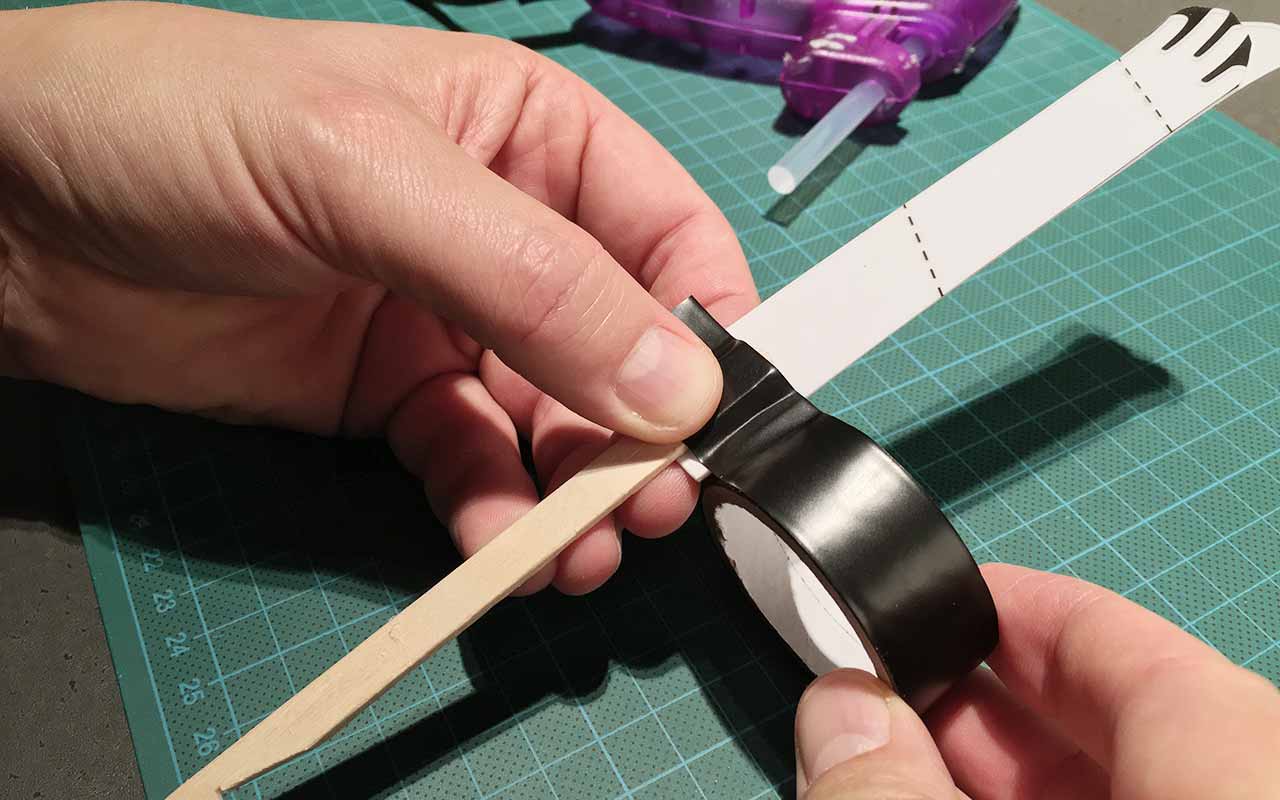
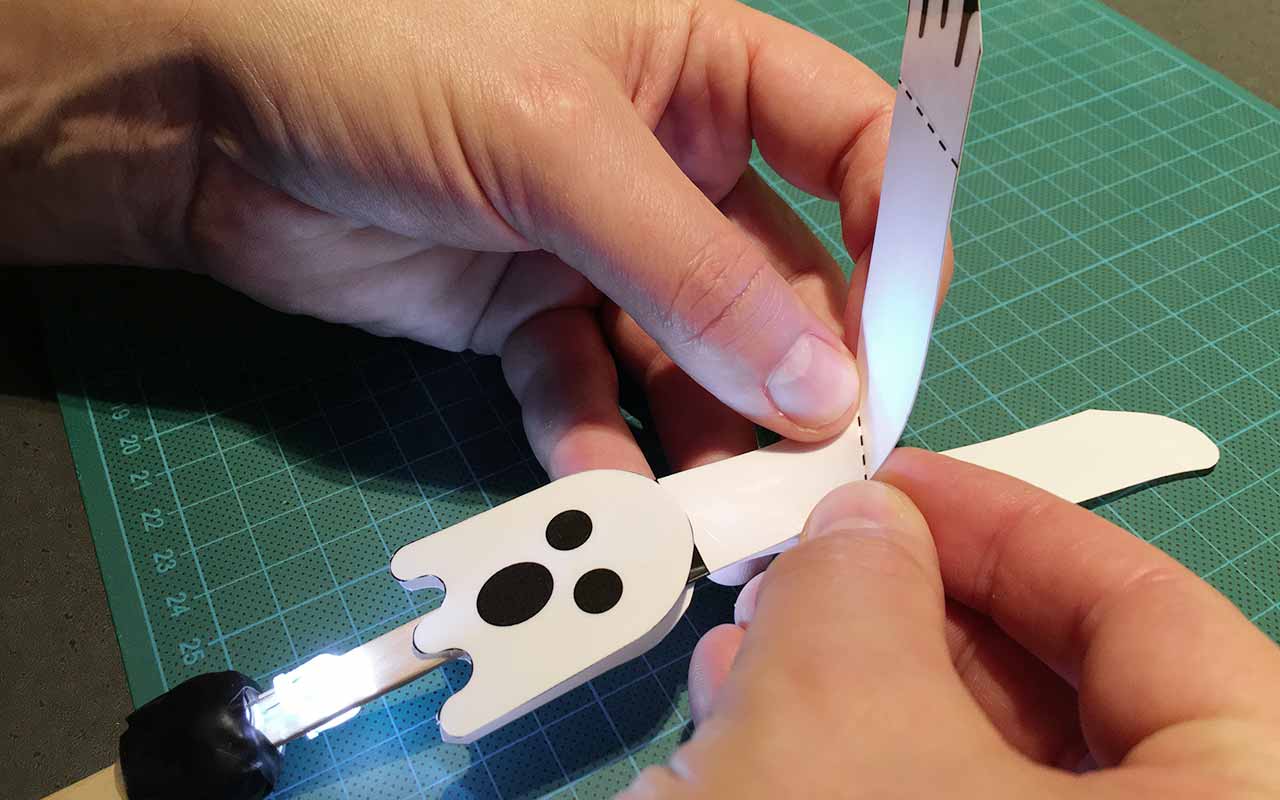
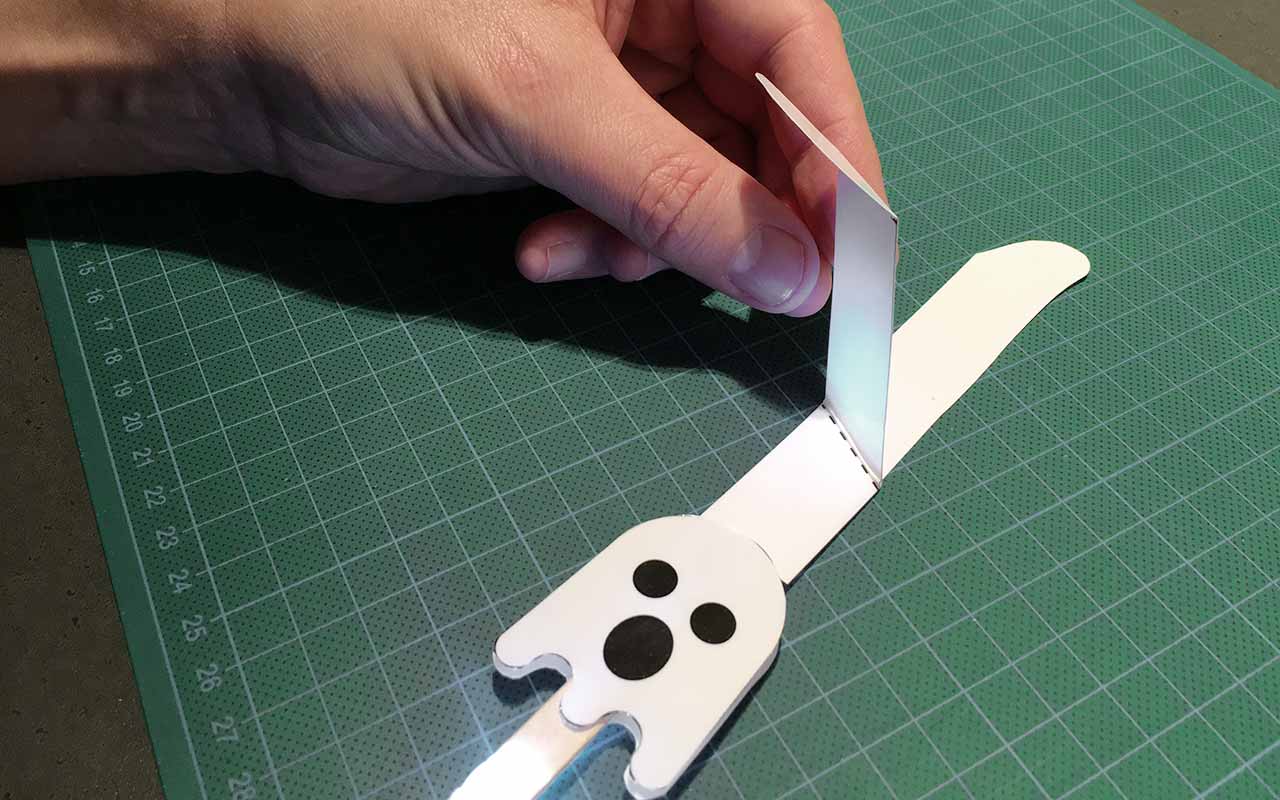
Make a triangular cut in one end of the popsicle stick. It will serve as grip for the slingshot once the LED-o-copter is ready to launch. Fold the wing along the dotted line on the middle, glue it to the popsicle stick and secure the connection with electrical tape.
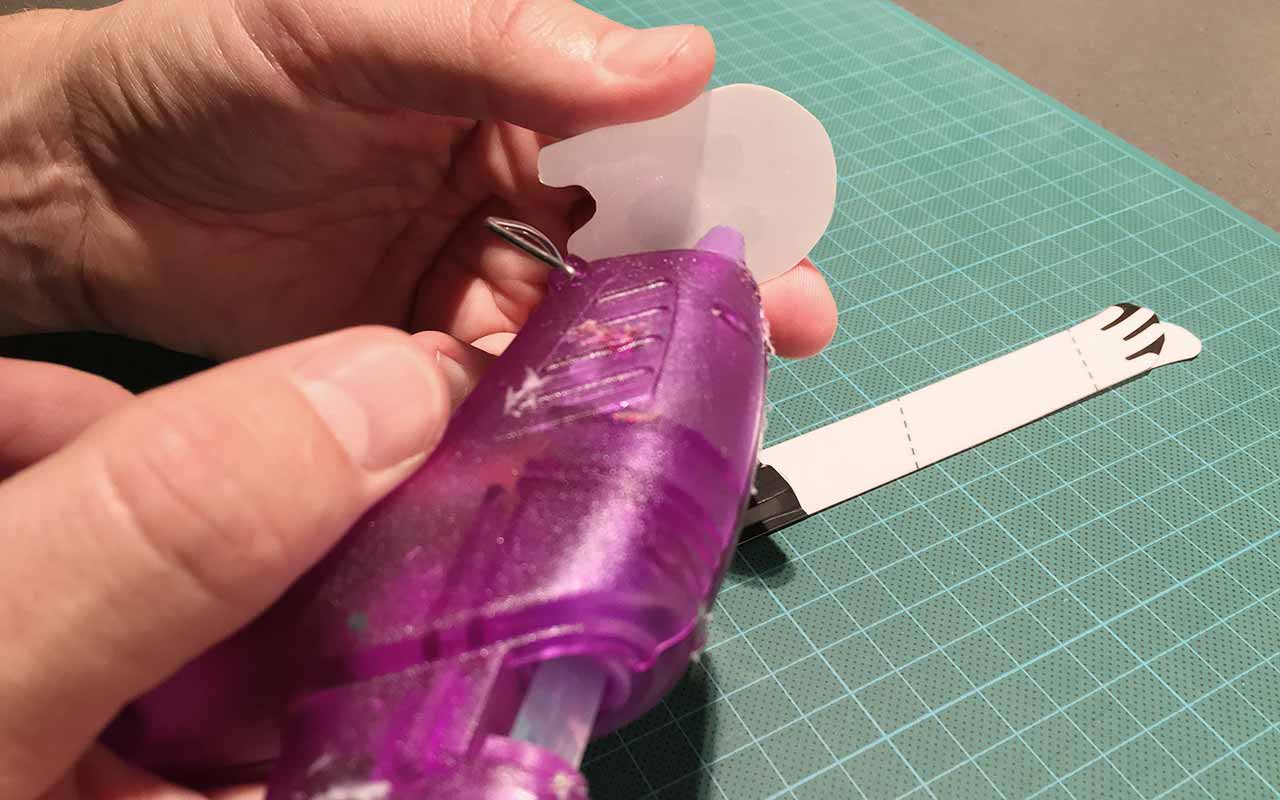
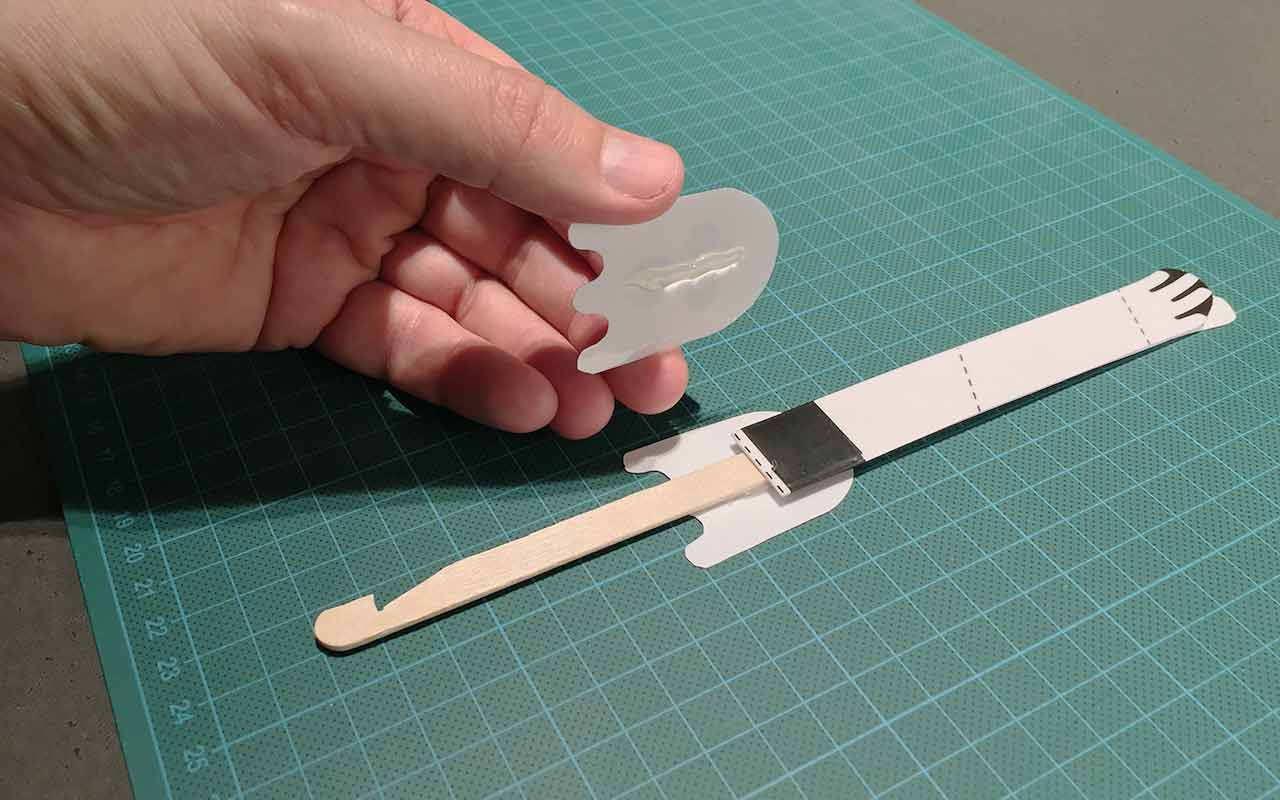
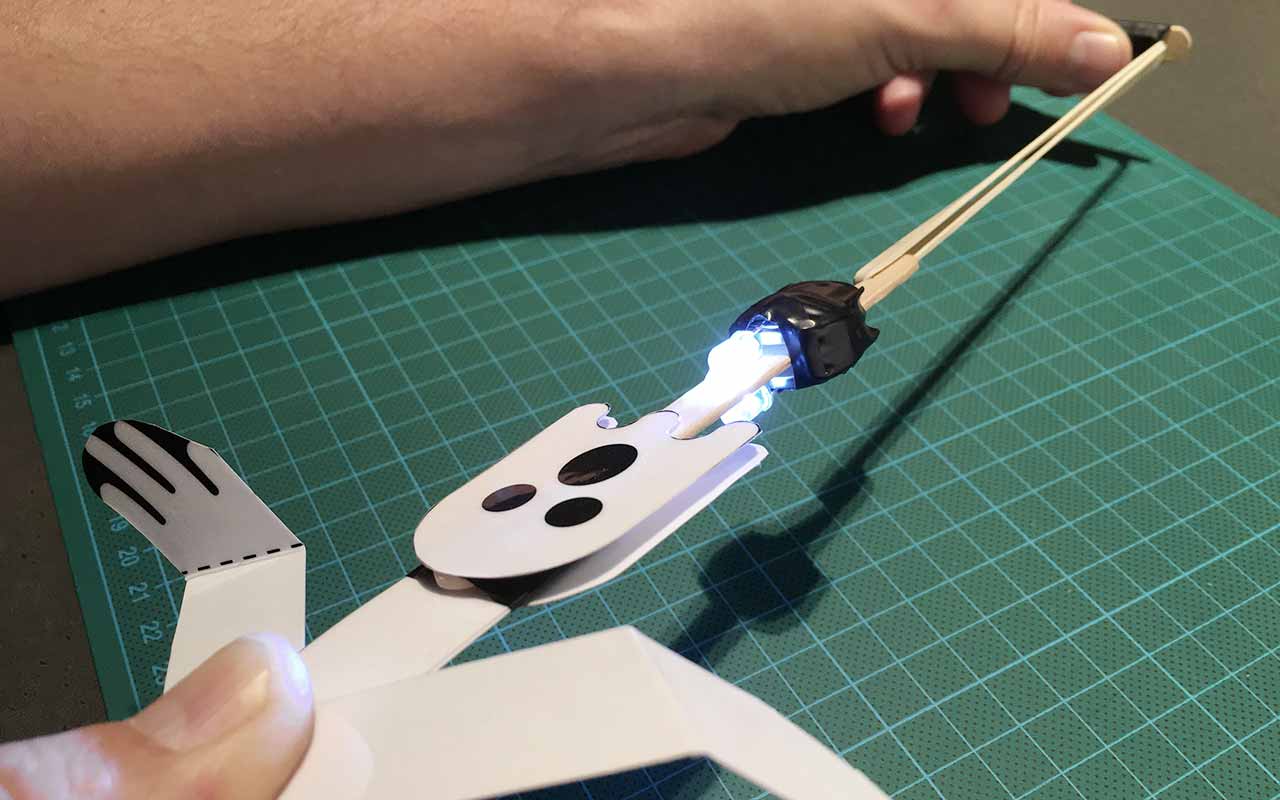
Attach the decoration
The decoration is the part that gives the LED-o-copter its identity. Glue the two decorations to the body – one on each side.
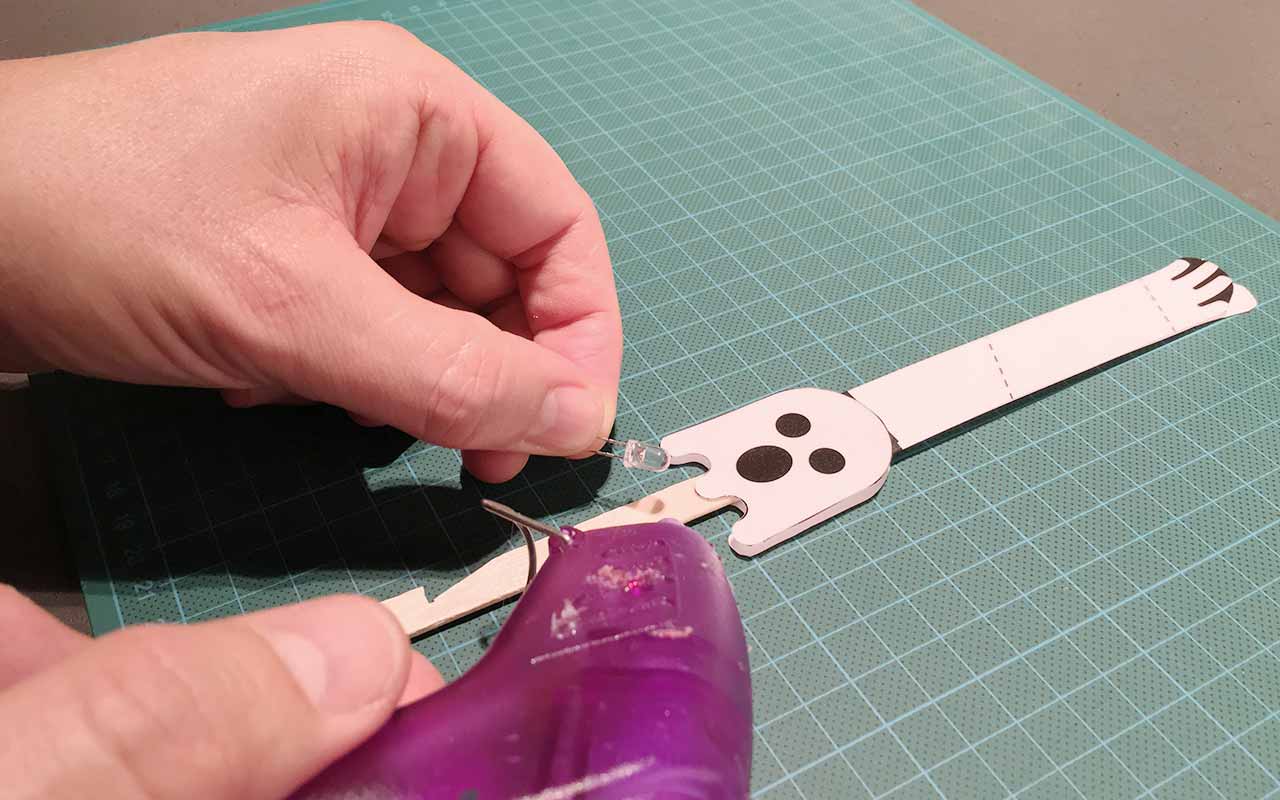
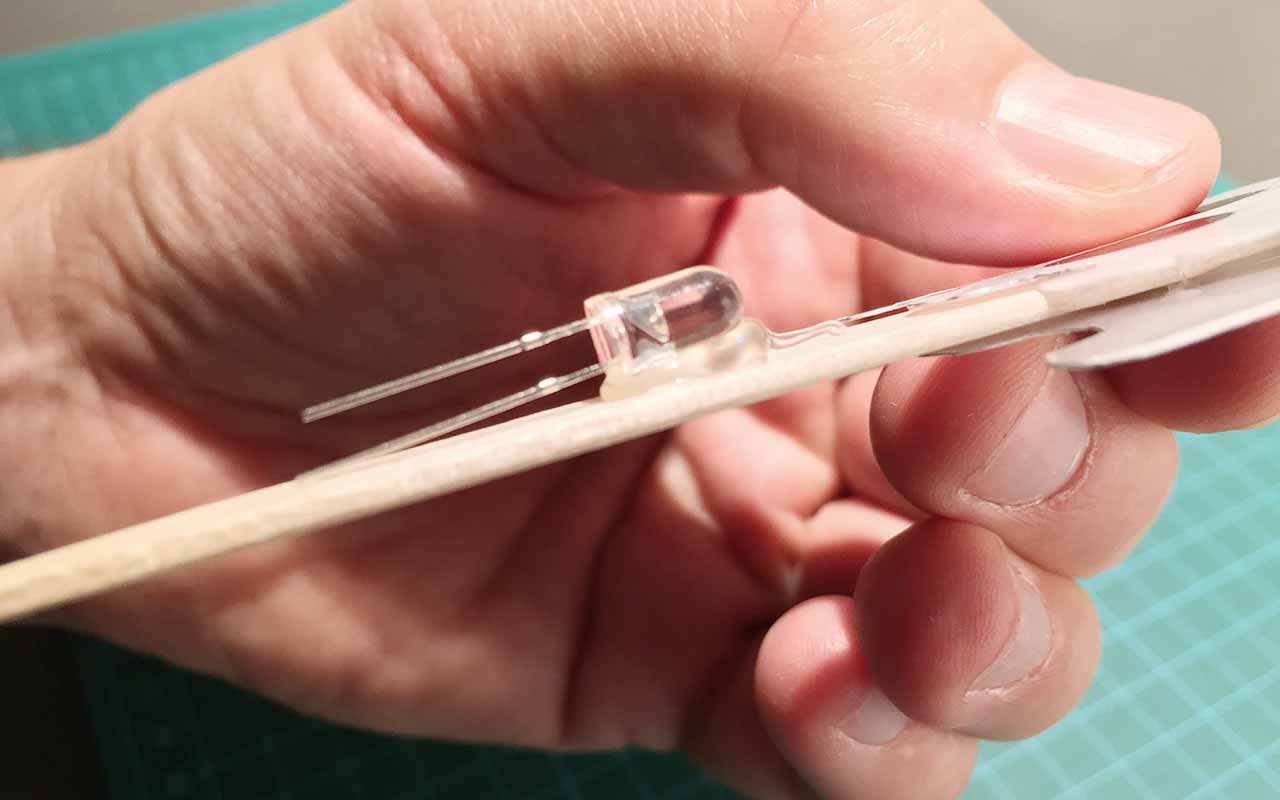
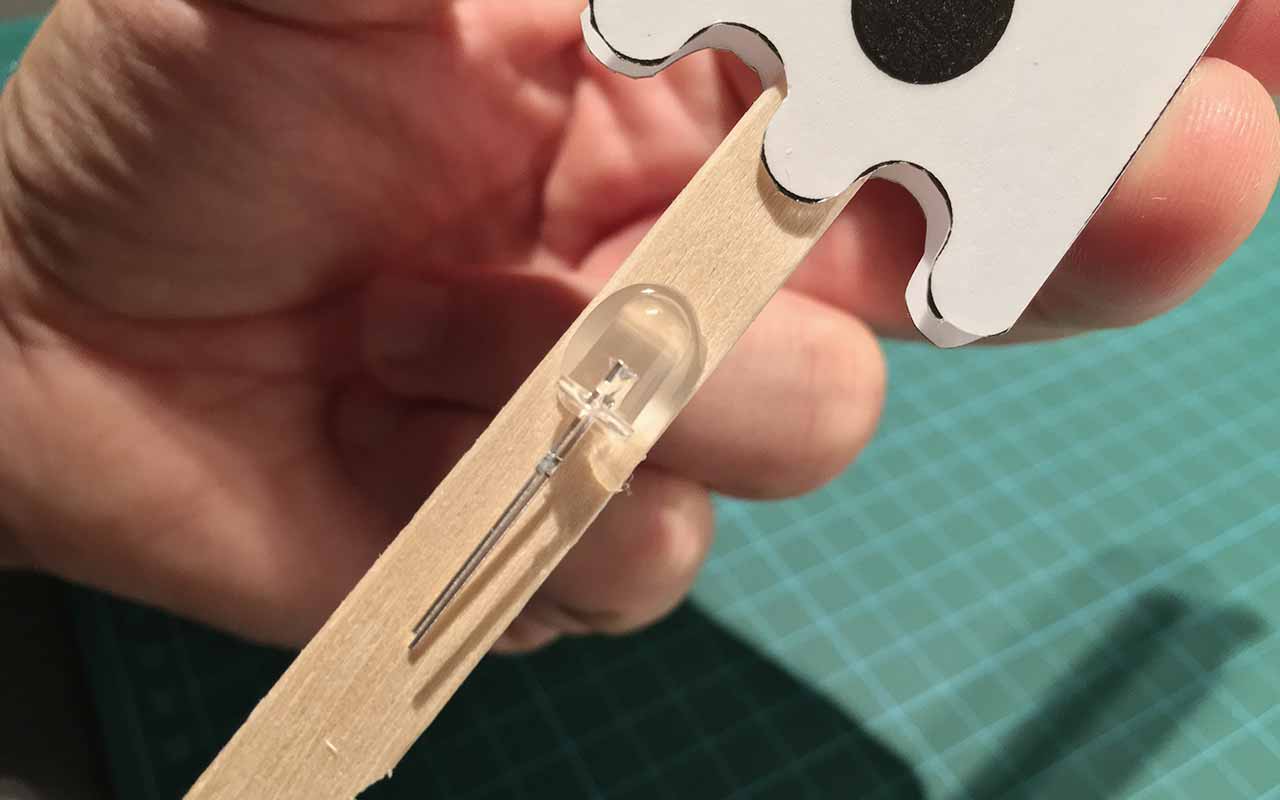

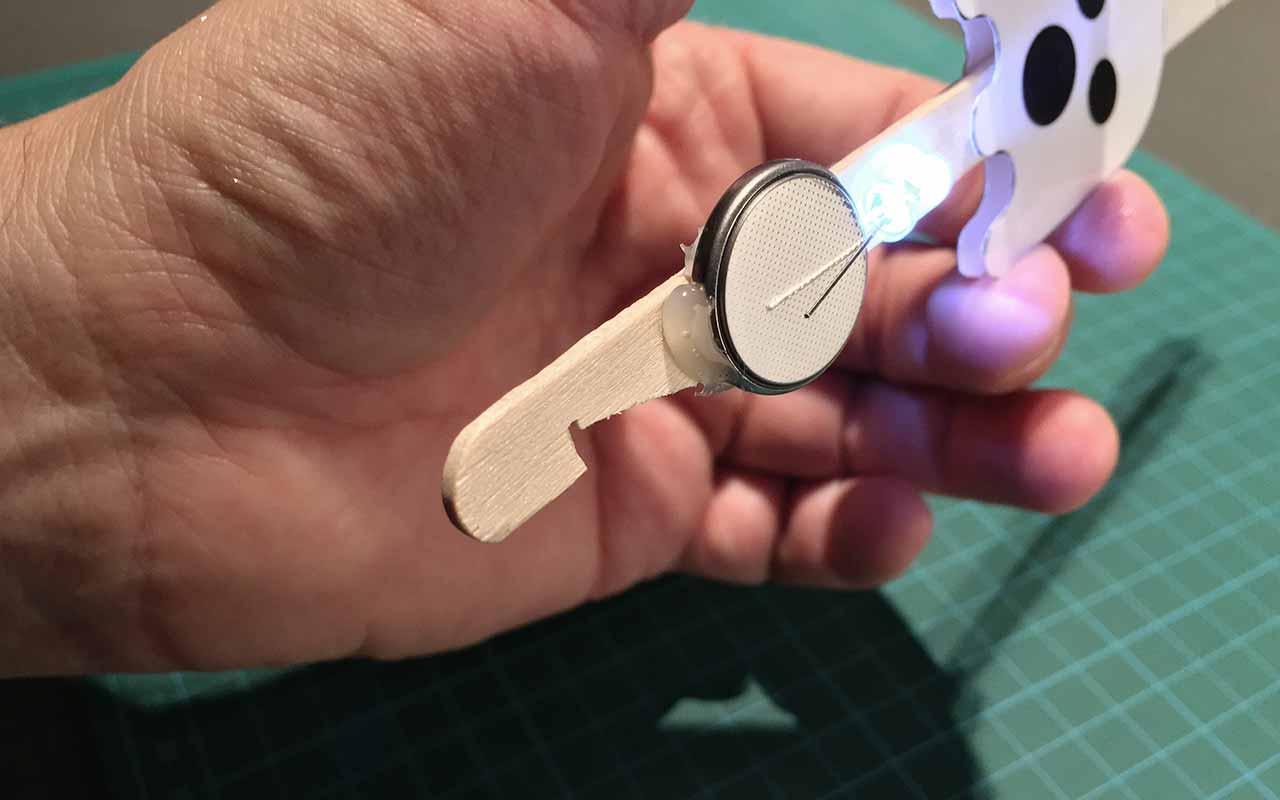
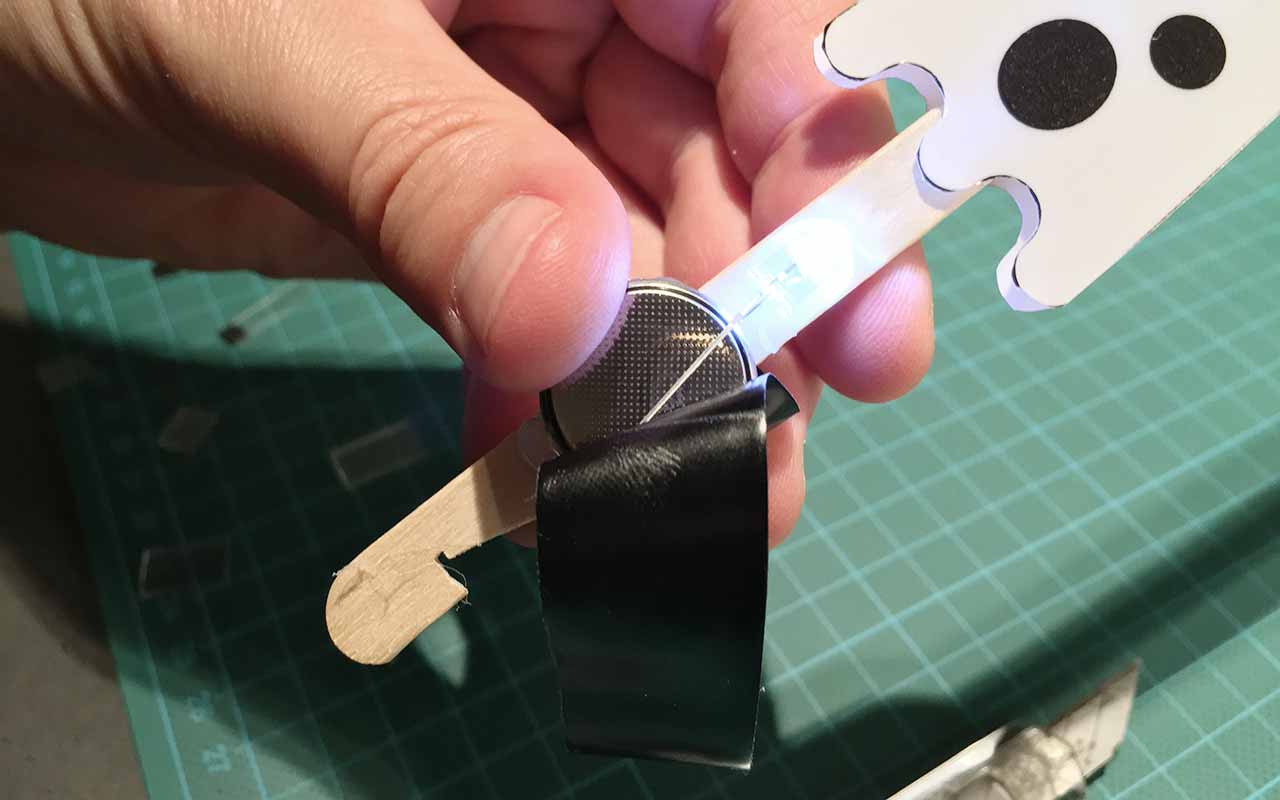
Attach the first LED
Attach one of the LEDs to the body with glue with the plus-leg (usually the longest) closest to the popsicle stick. The LED should be placed just below the decoration, so it will illuminate the decoration and the wings once it is supplied with power.
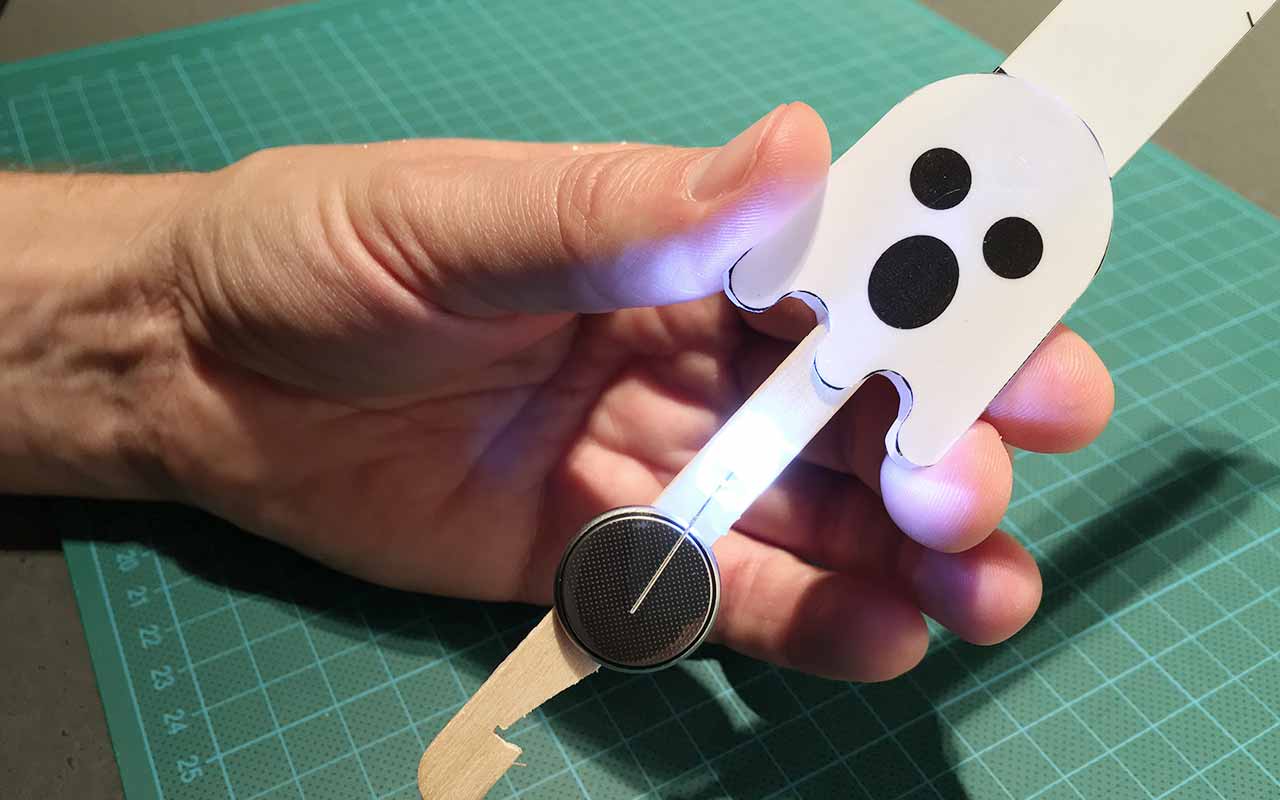
Be sure to use enough glue. The LED-o-copter is going to take some hits when it lands, so everything should be thoroughly glued in place. Squeeze the battery into place between the legs. The LED should light up. If not the battery must be turned around. Do not glue the battery in place yet.
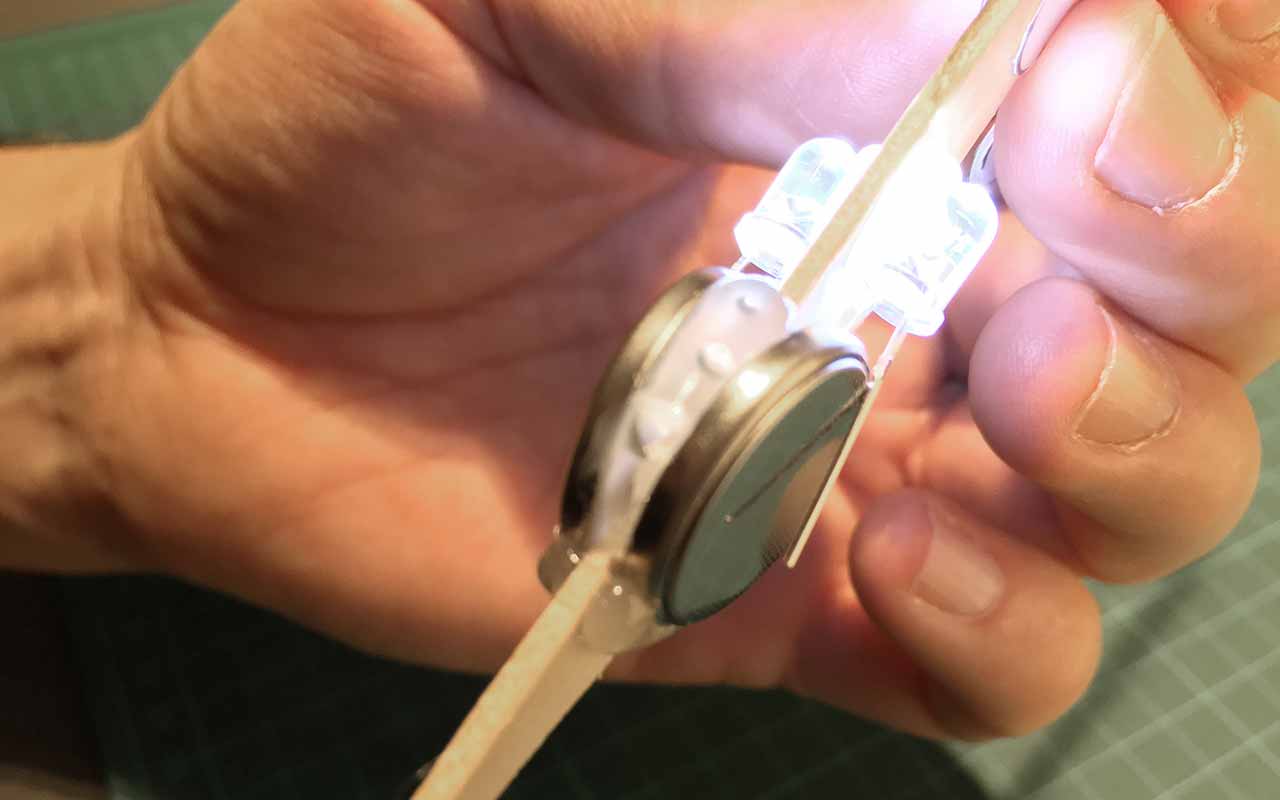
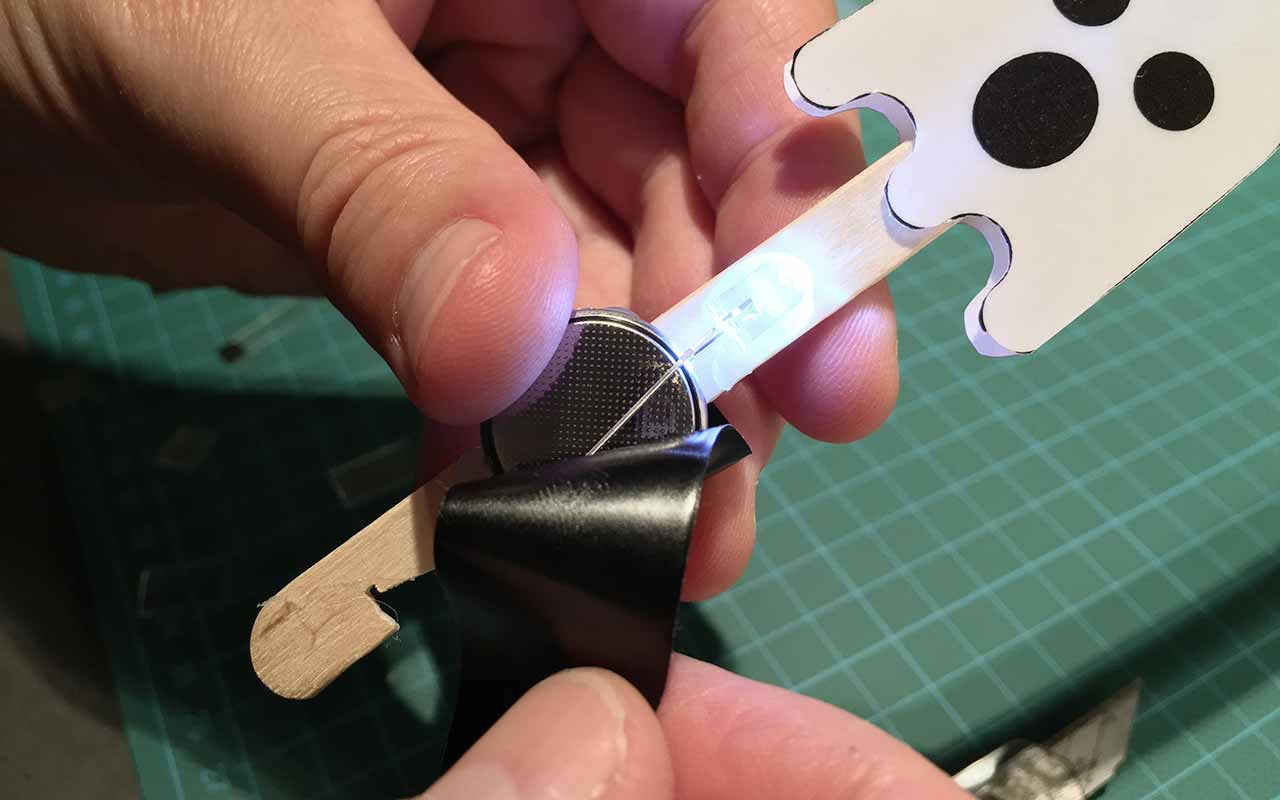
Attach the second LED
Repeat the process with the second LED on the other side of the body.
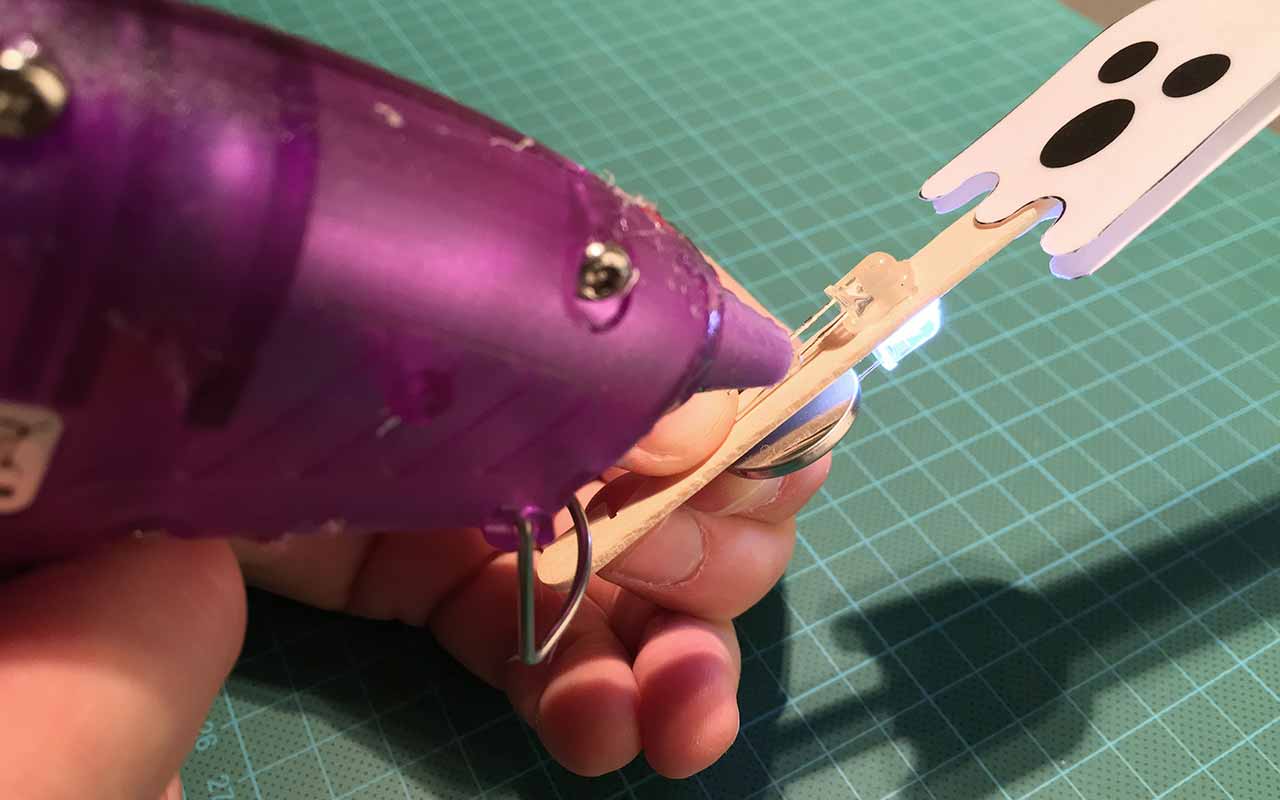
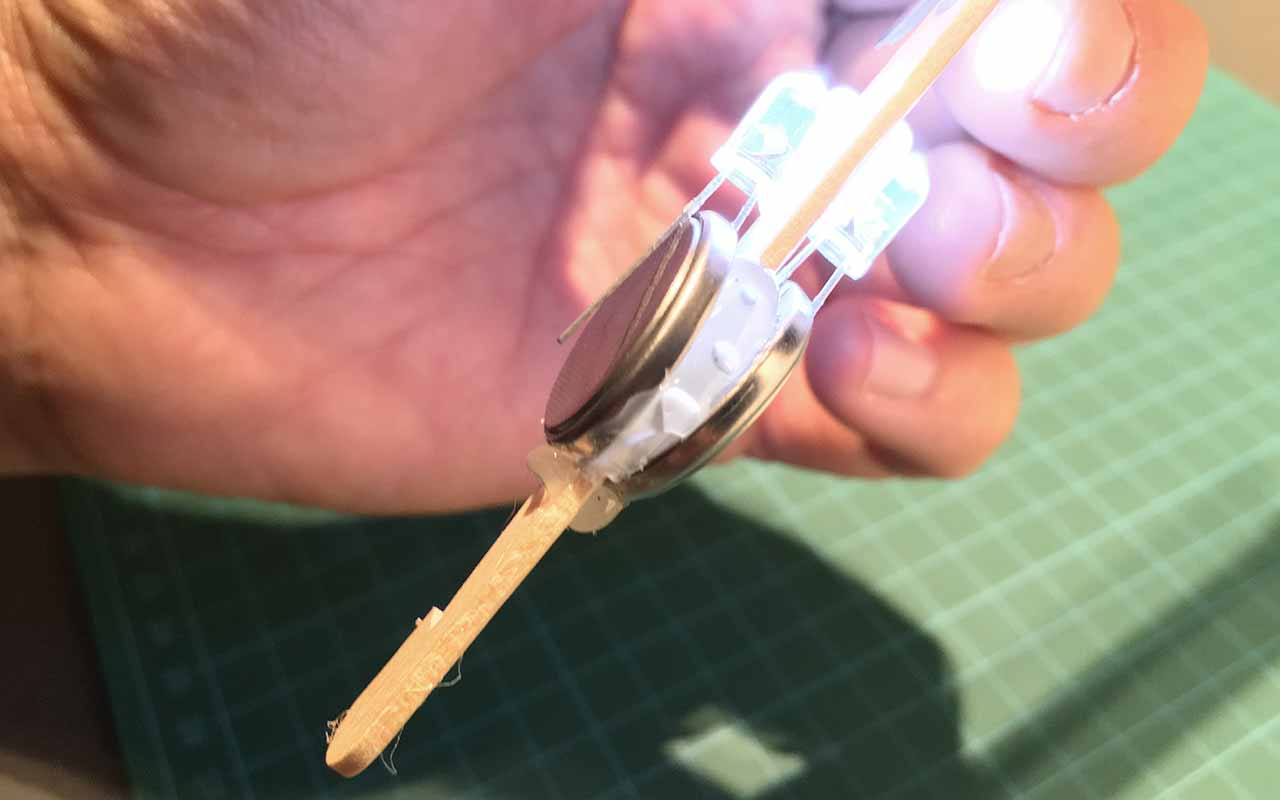
Once both LEDs and the batteries are in place everything should light up beautifully.
Secure the batteries thoroughly with glue. Start with a blob of glue below each battery to support them and fill up with glue between the batteries.
In the next step, you will secure the batteries with electrical tape which will turn the LEDs on for good. If you are not ready for that, squeeze in a small piece of cardboard between the battery and the leg of the LED to put it on stand-by.
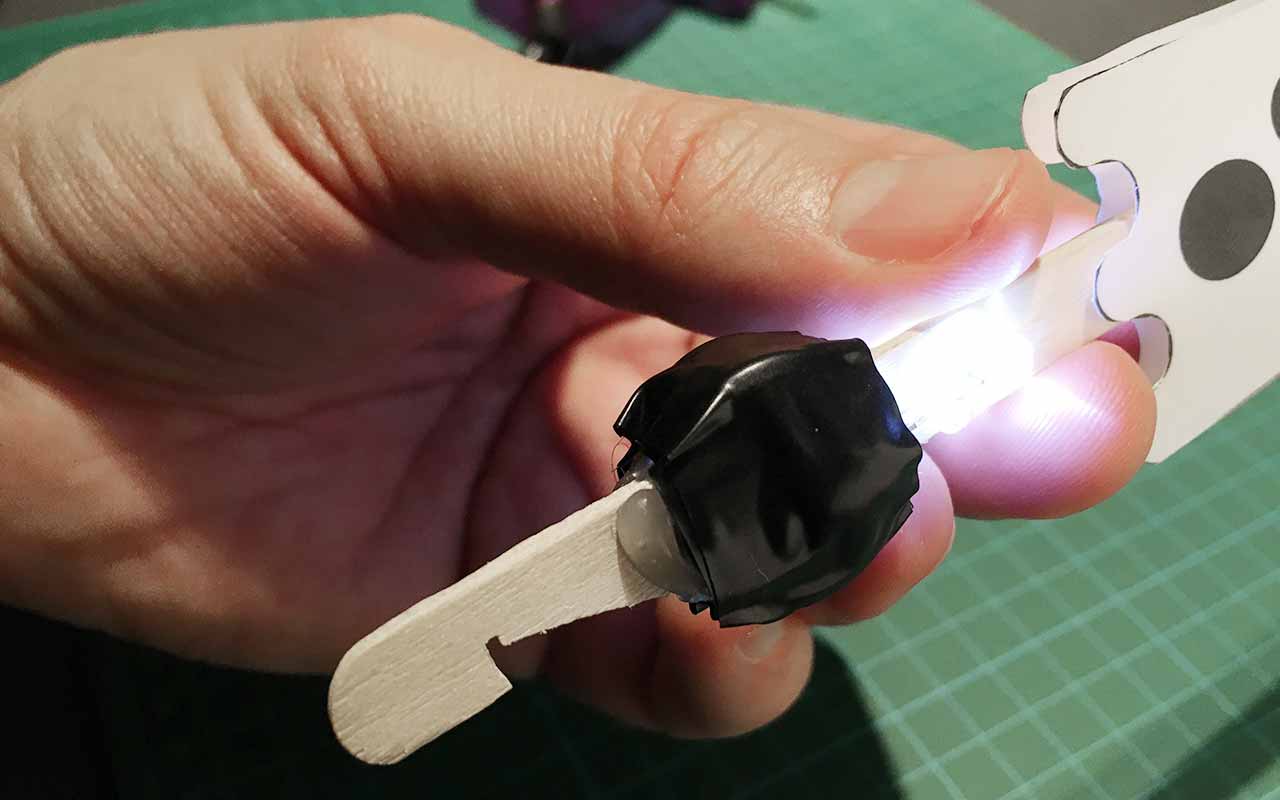
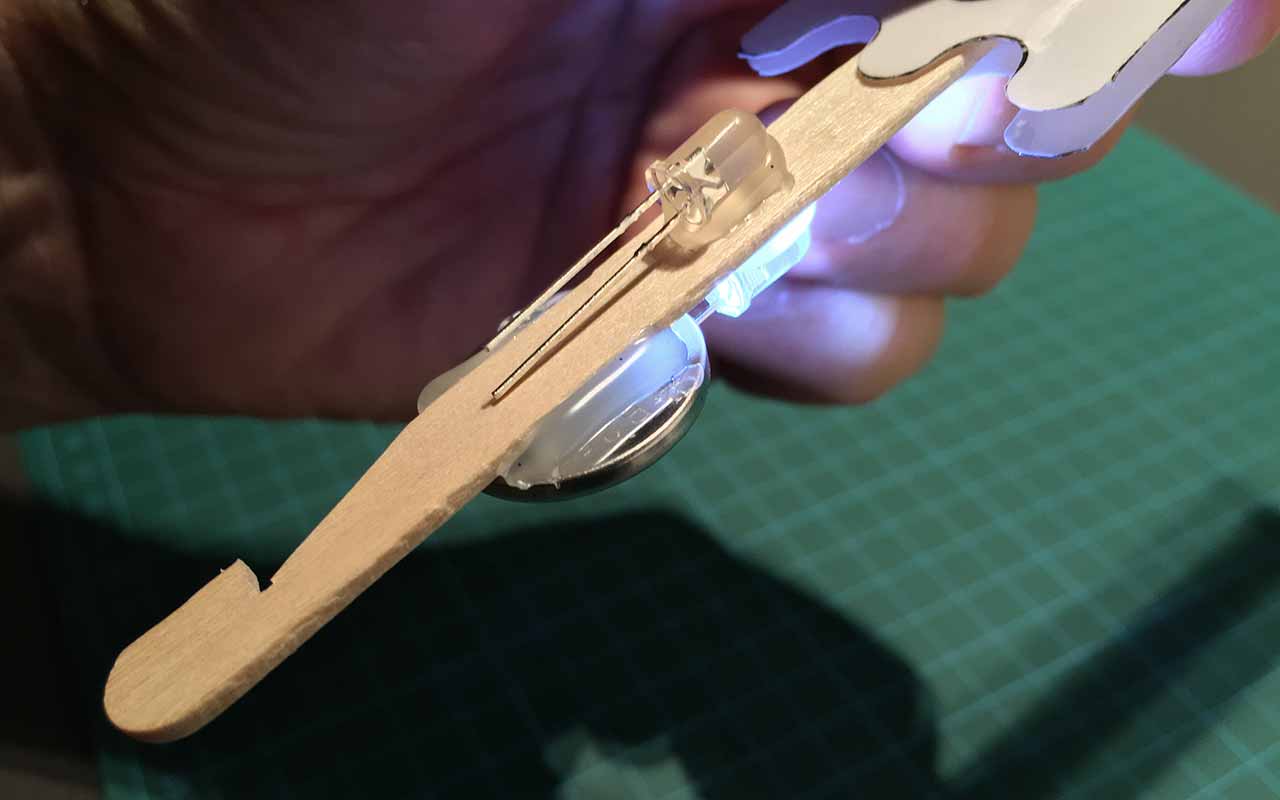
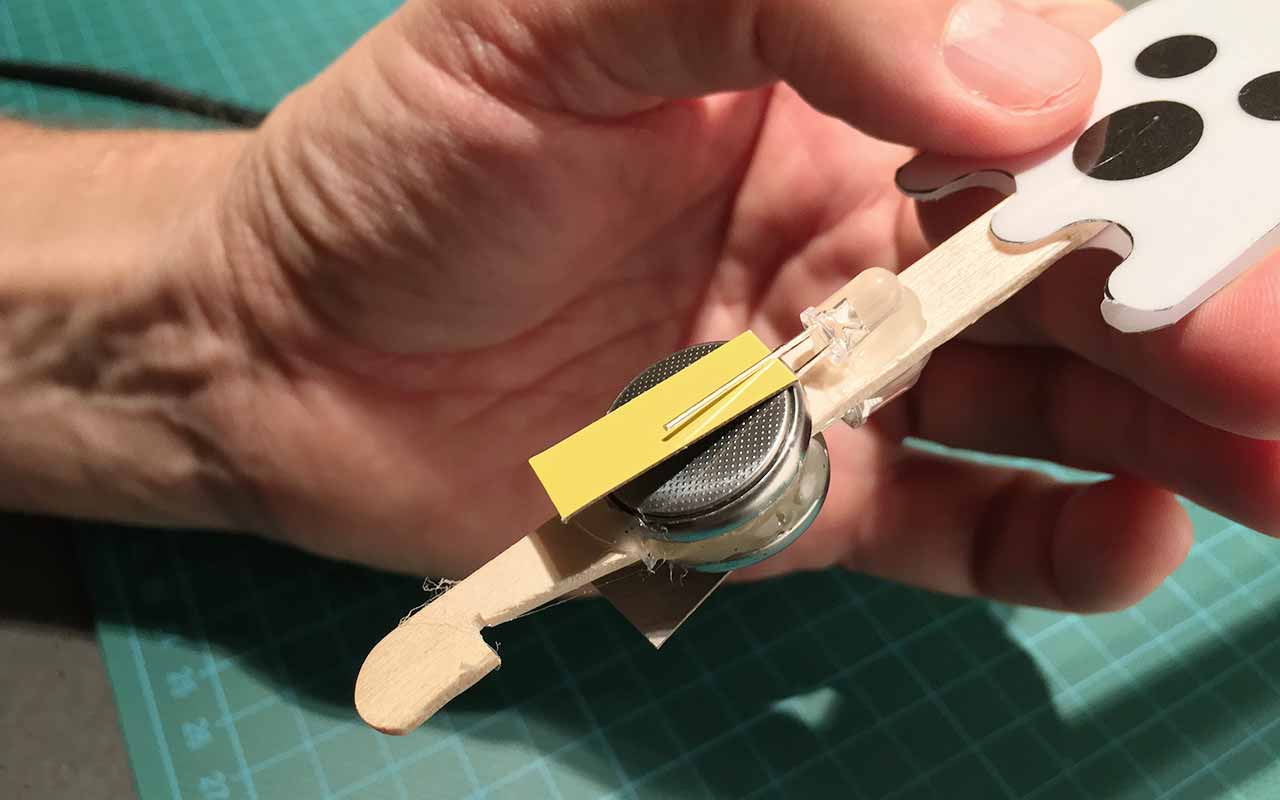
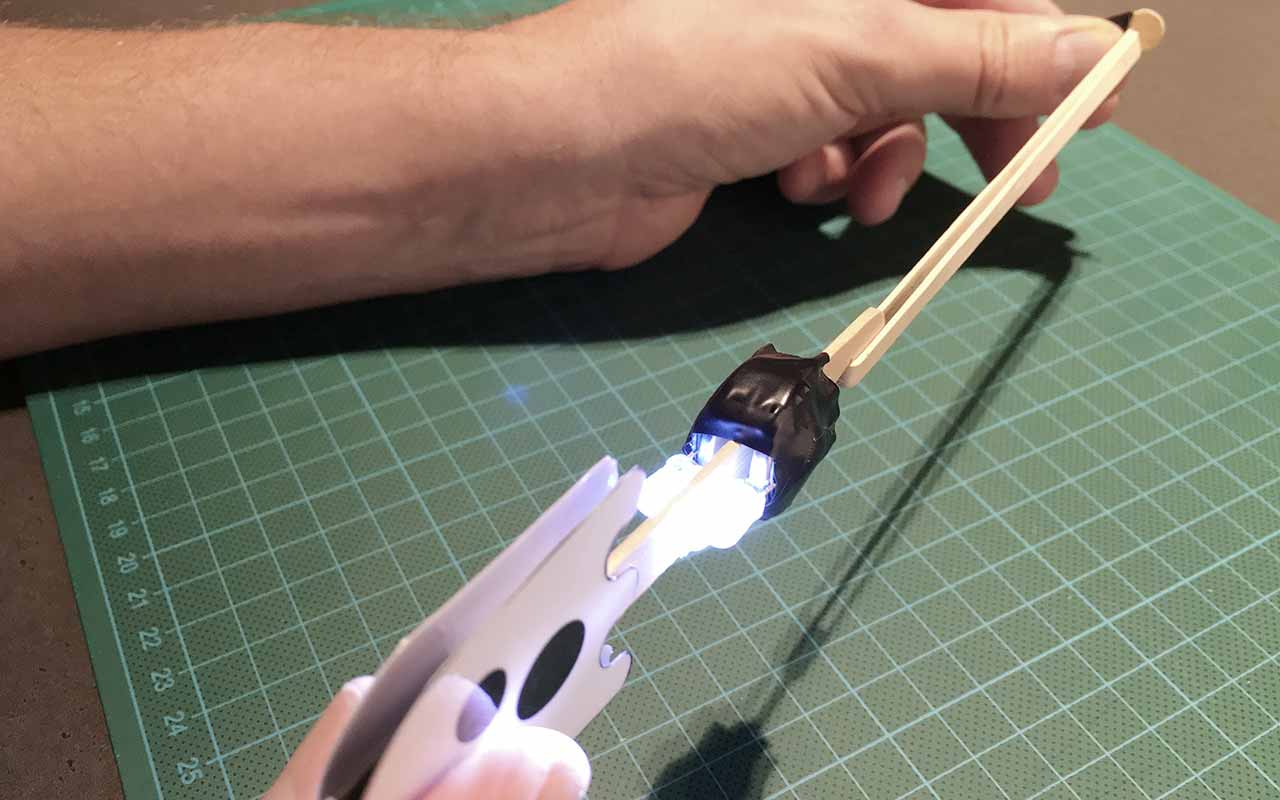
Secure the legs to the batteries with tape
Now wind a couple of rounds of electrical tape tightly around the batteries so the LED legs are kept in place. Make sure there is a steady connection and the LEDs light up all the time. Once you are done playing with the LED-o-copter the only way to turn it off is the unwind the tape and pry the legs away from the batteries.
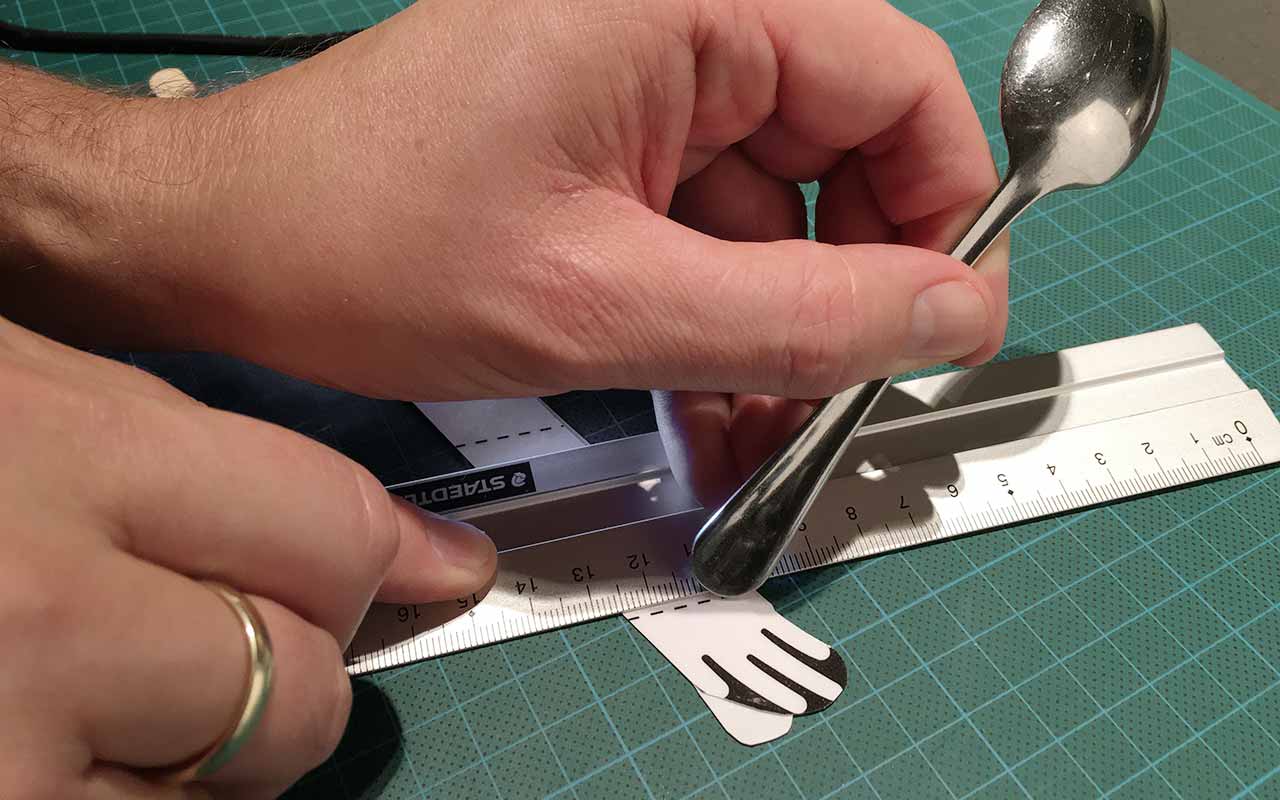
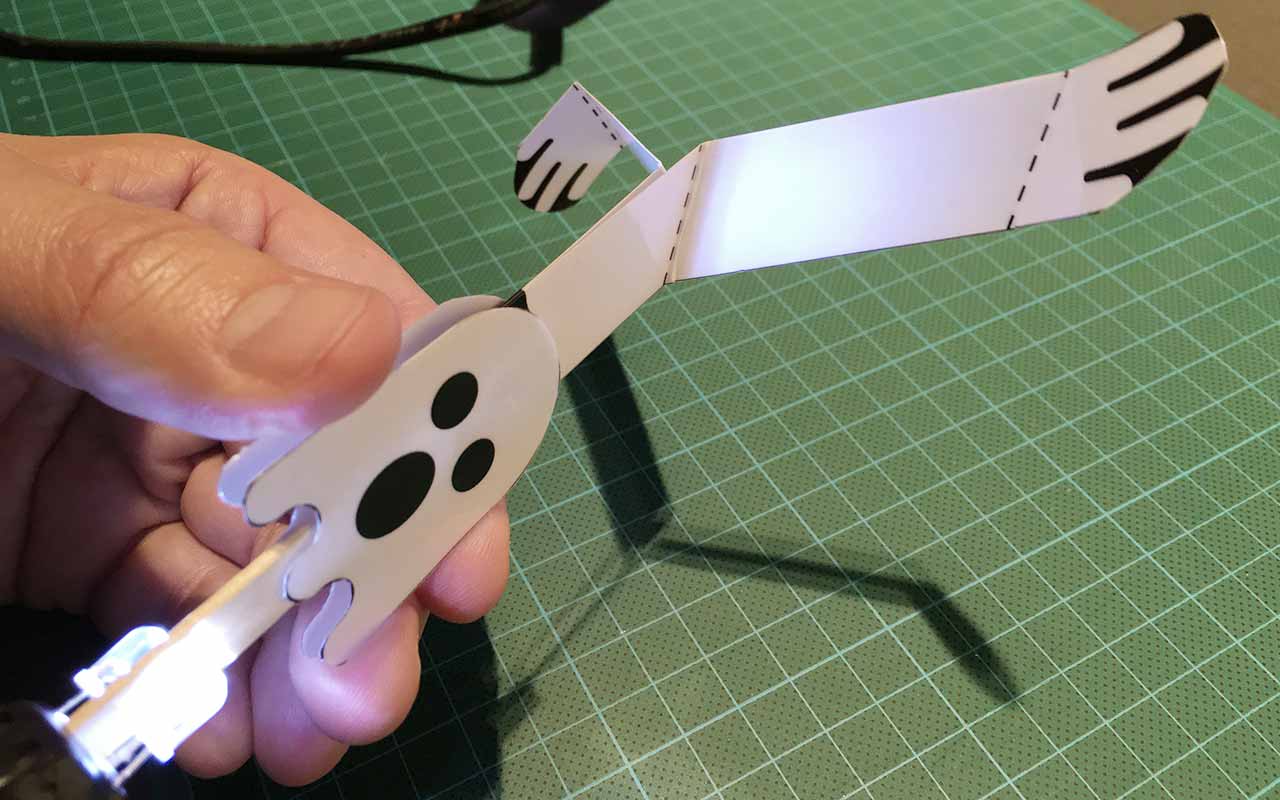
Make creases and fold the wings
The wings need to be folded along the dotted lines. You will get a good sharp fold if you make a crease in the wing with a semi-sharp tool. For instance a tea spoon. Make the crease along a ruler to get it straight.
The LED-o-copter is done. Time for the slingshot.
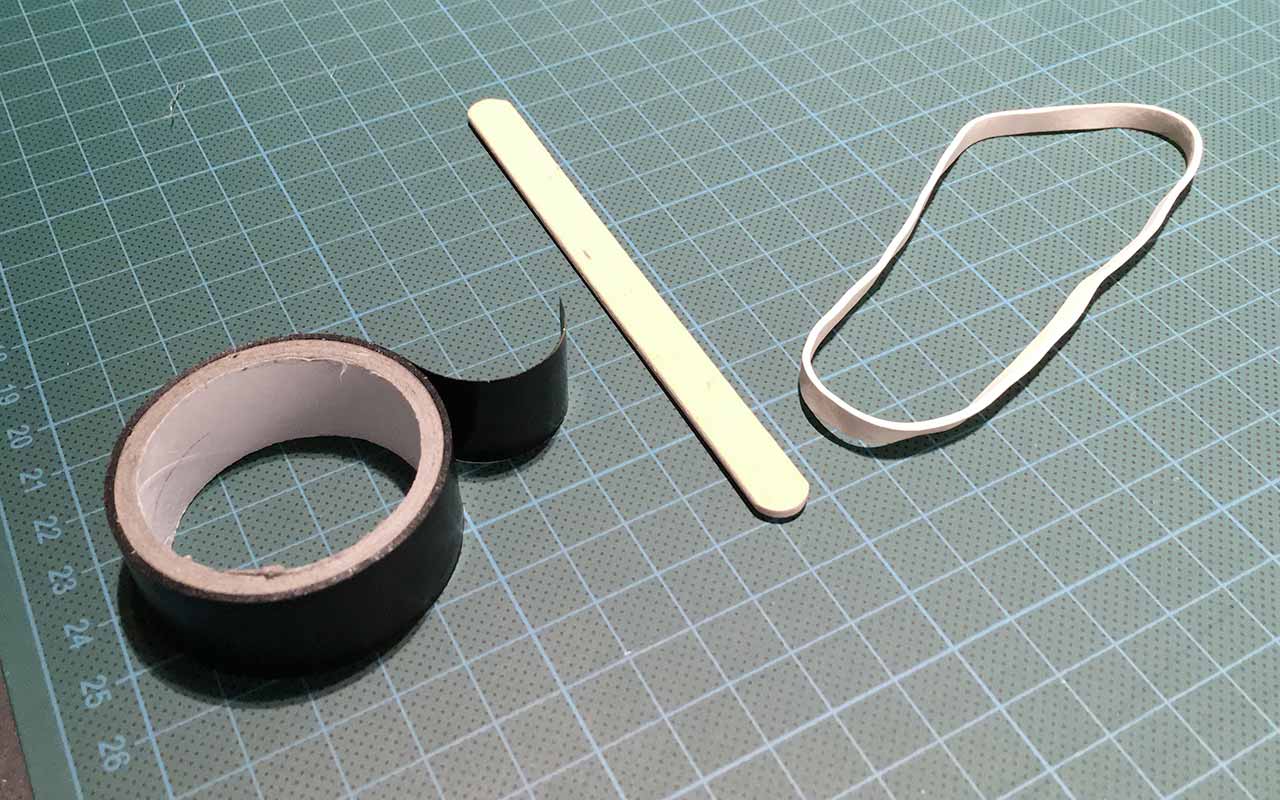
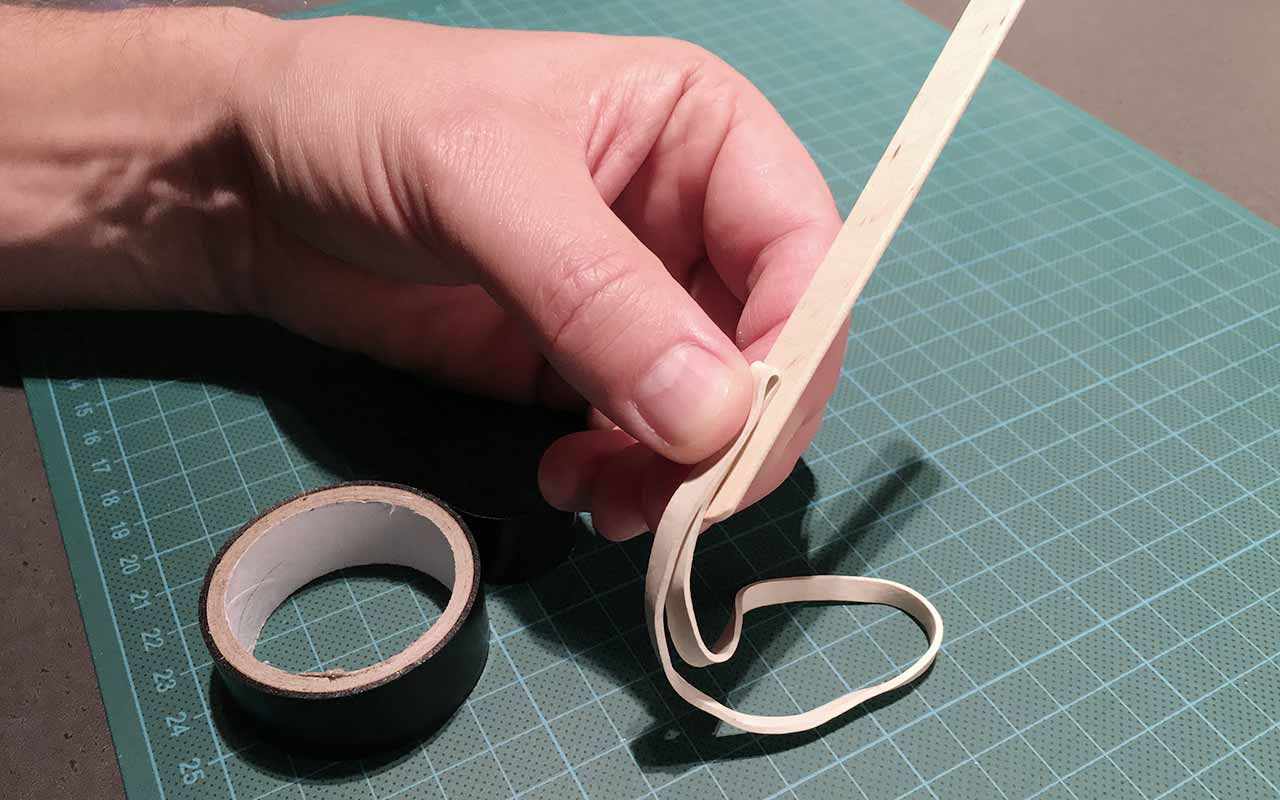
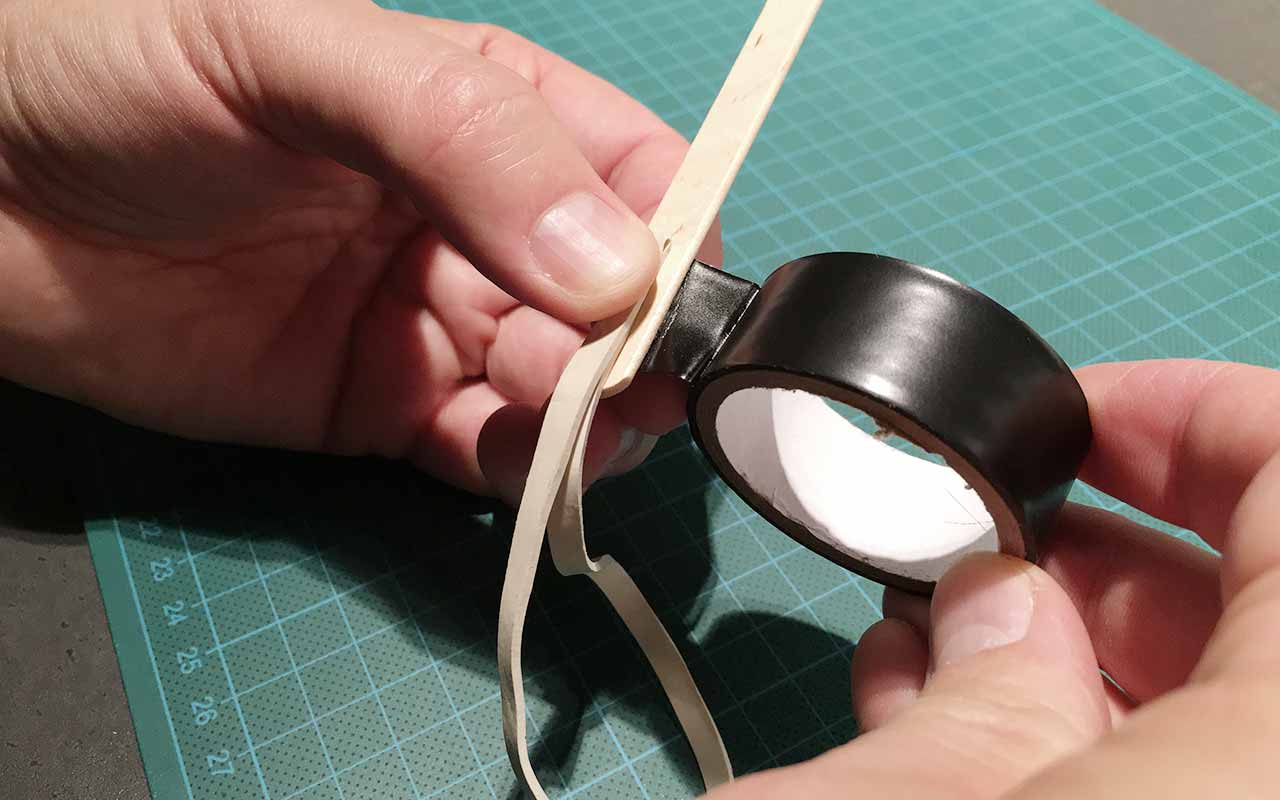
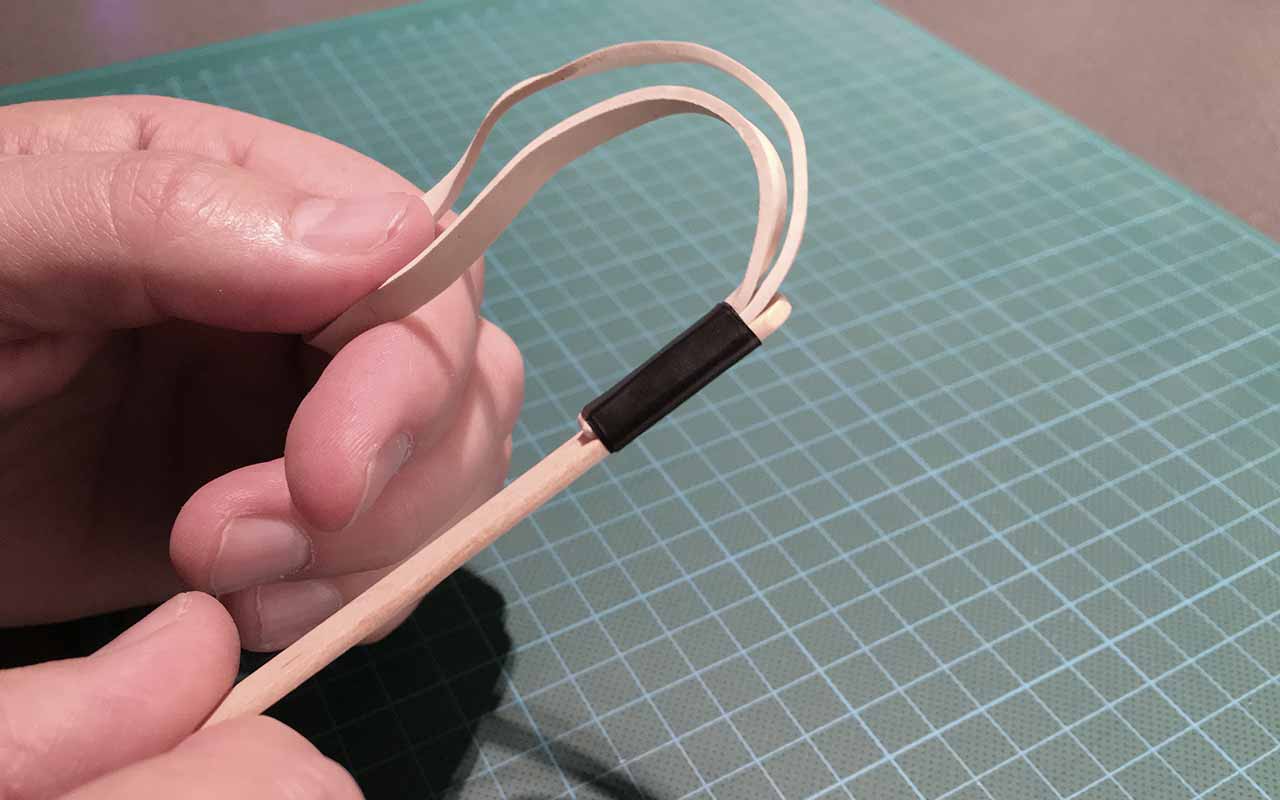
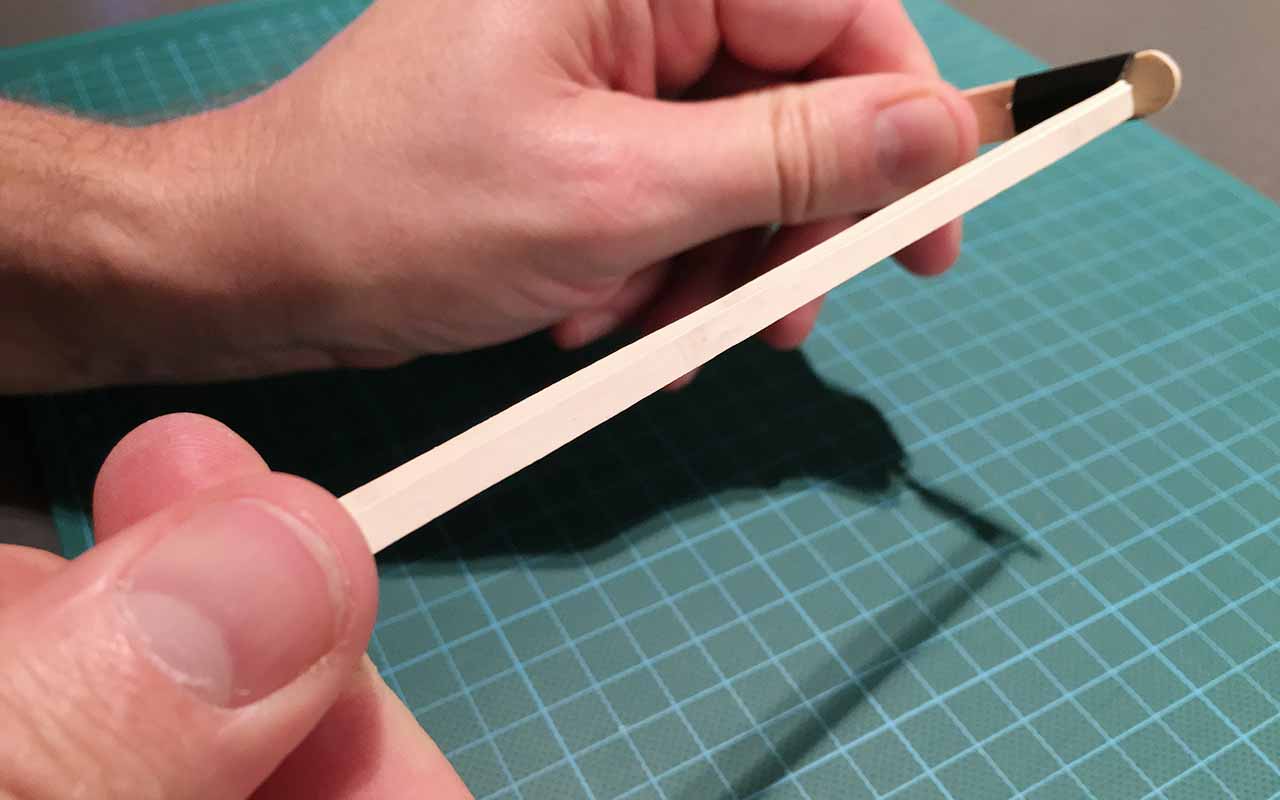
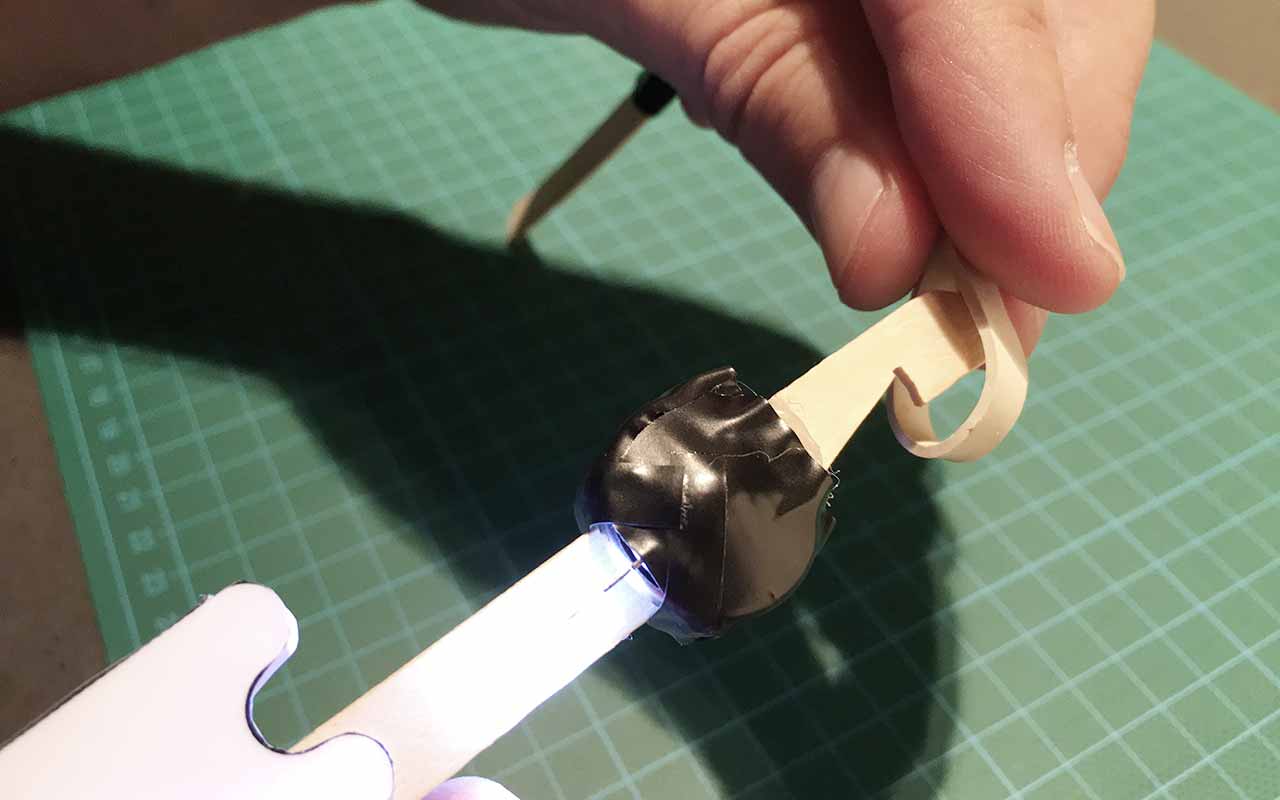
Make the slingshot
The slingshot is made from a popsicle stick and a strong rubber band. Tape the rubber band to the end of the stick with electrical tape.
TIP: The rubber band may turn out to be too long once you start playing with the LED-o-copter. Make sure you finalize the taping in a way that makes it possible to open the tape again and move the rubber band.
10, 9, 8, 7, 6, 5 …
You are ready to launch your LED-o-copter into the air.
Wait for the dark.
Go outside.
Place the rubber band in the triangular cut, pull the LED-o-copter back and release.
Enjoy as your LED-o-copter shoots up in the air and slowly swirls down again.
Repeat 🙂